
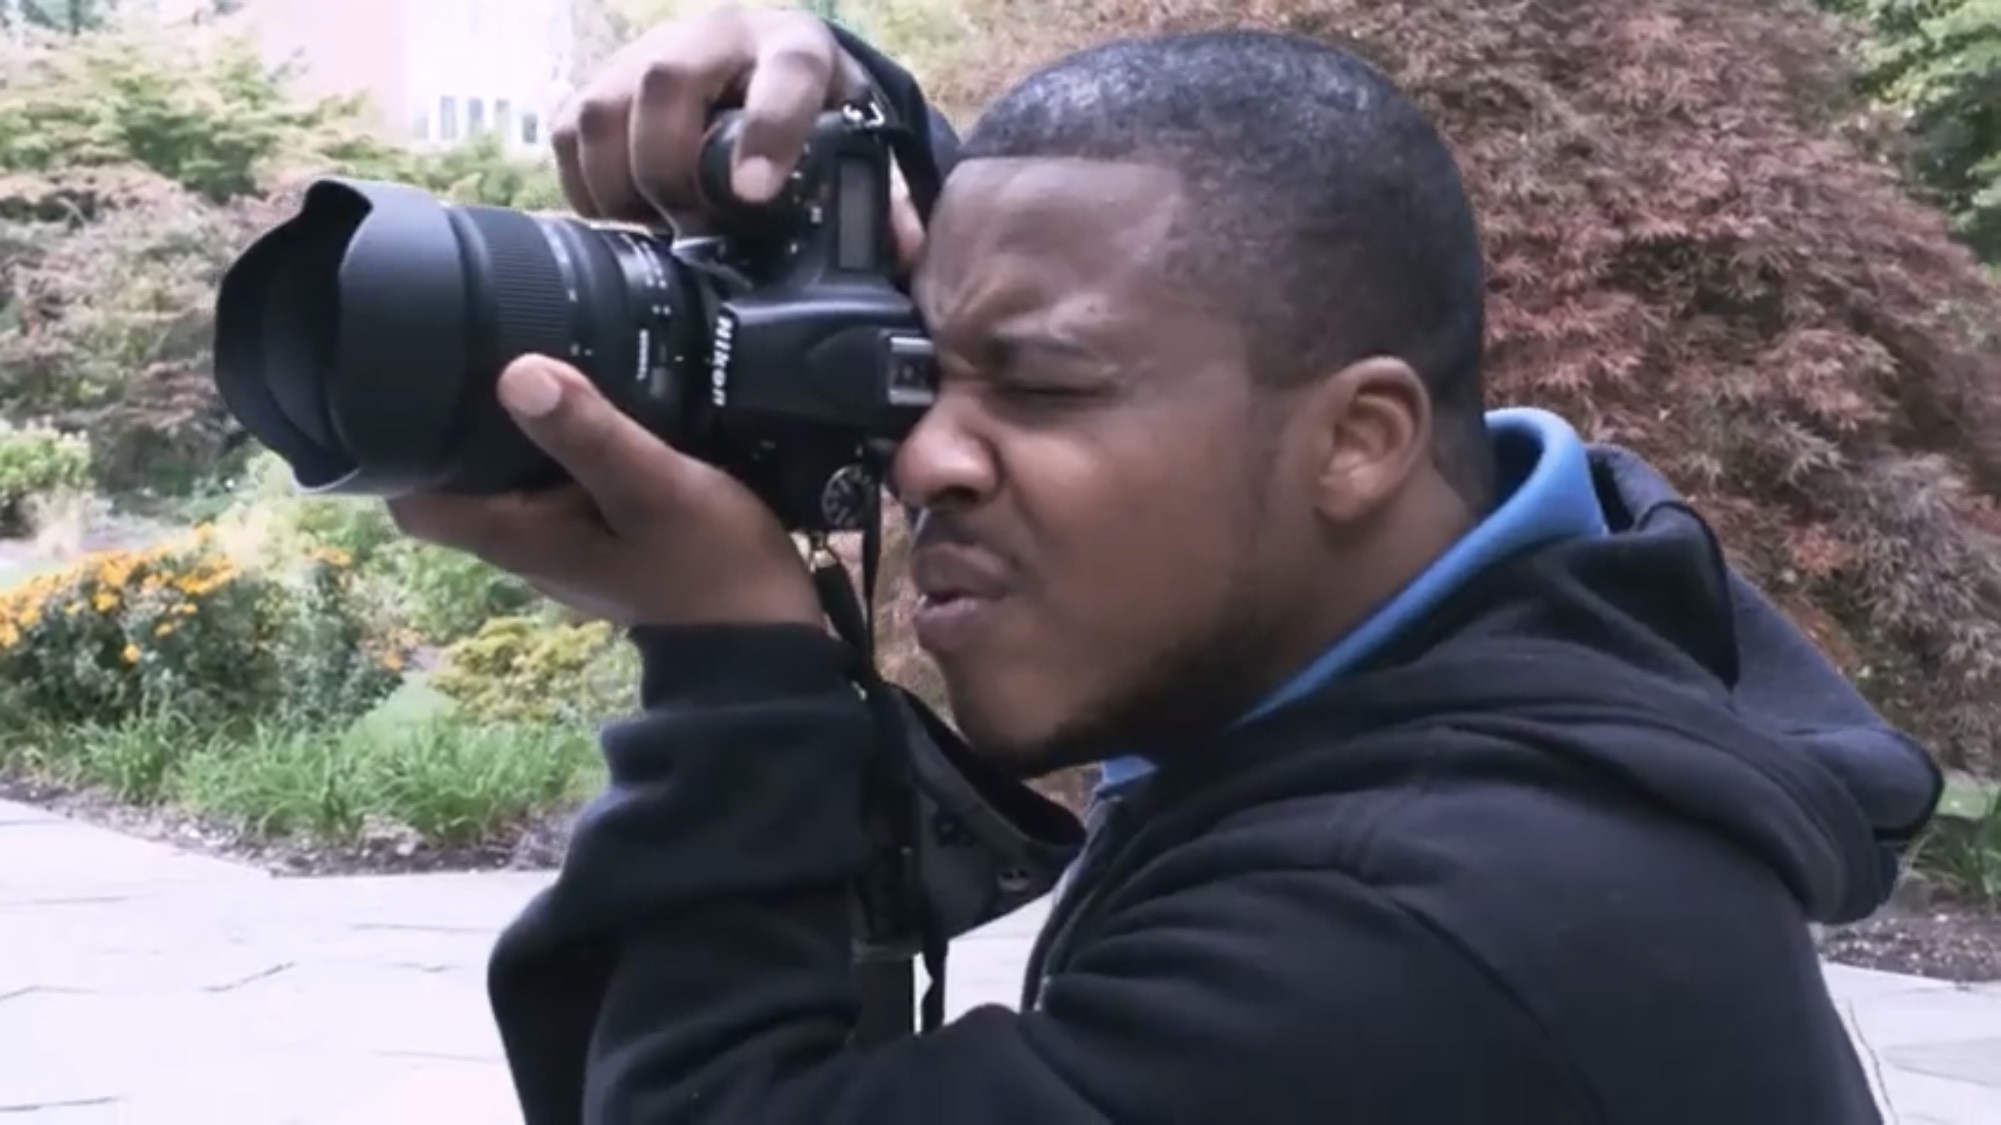
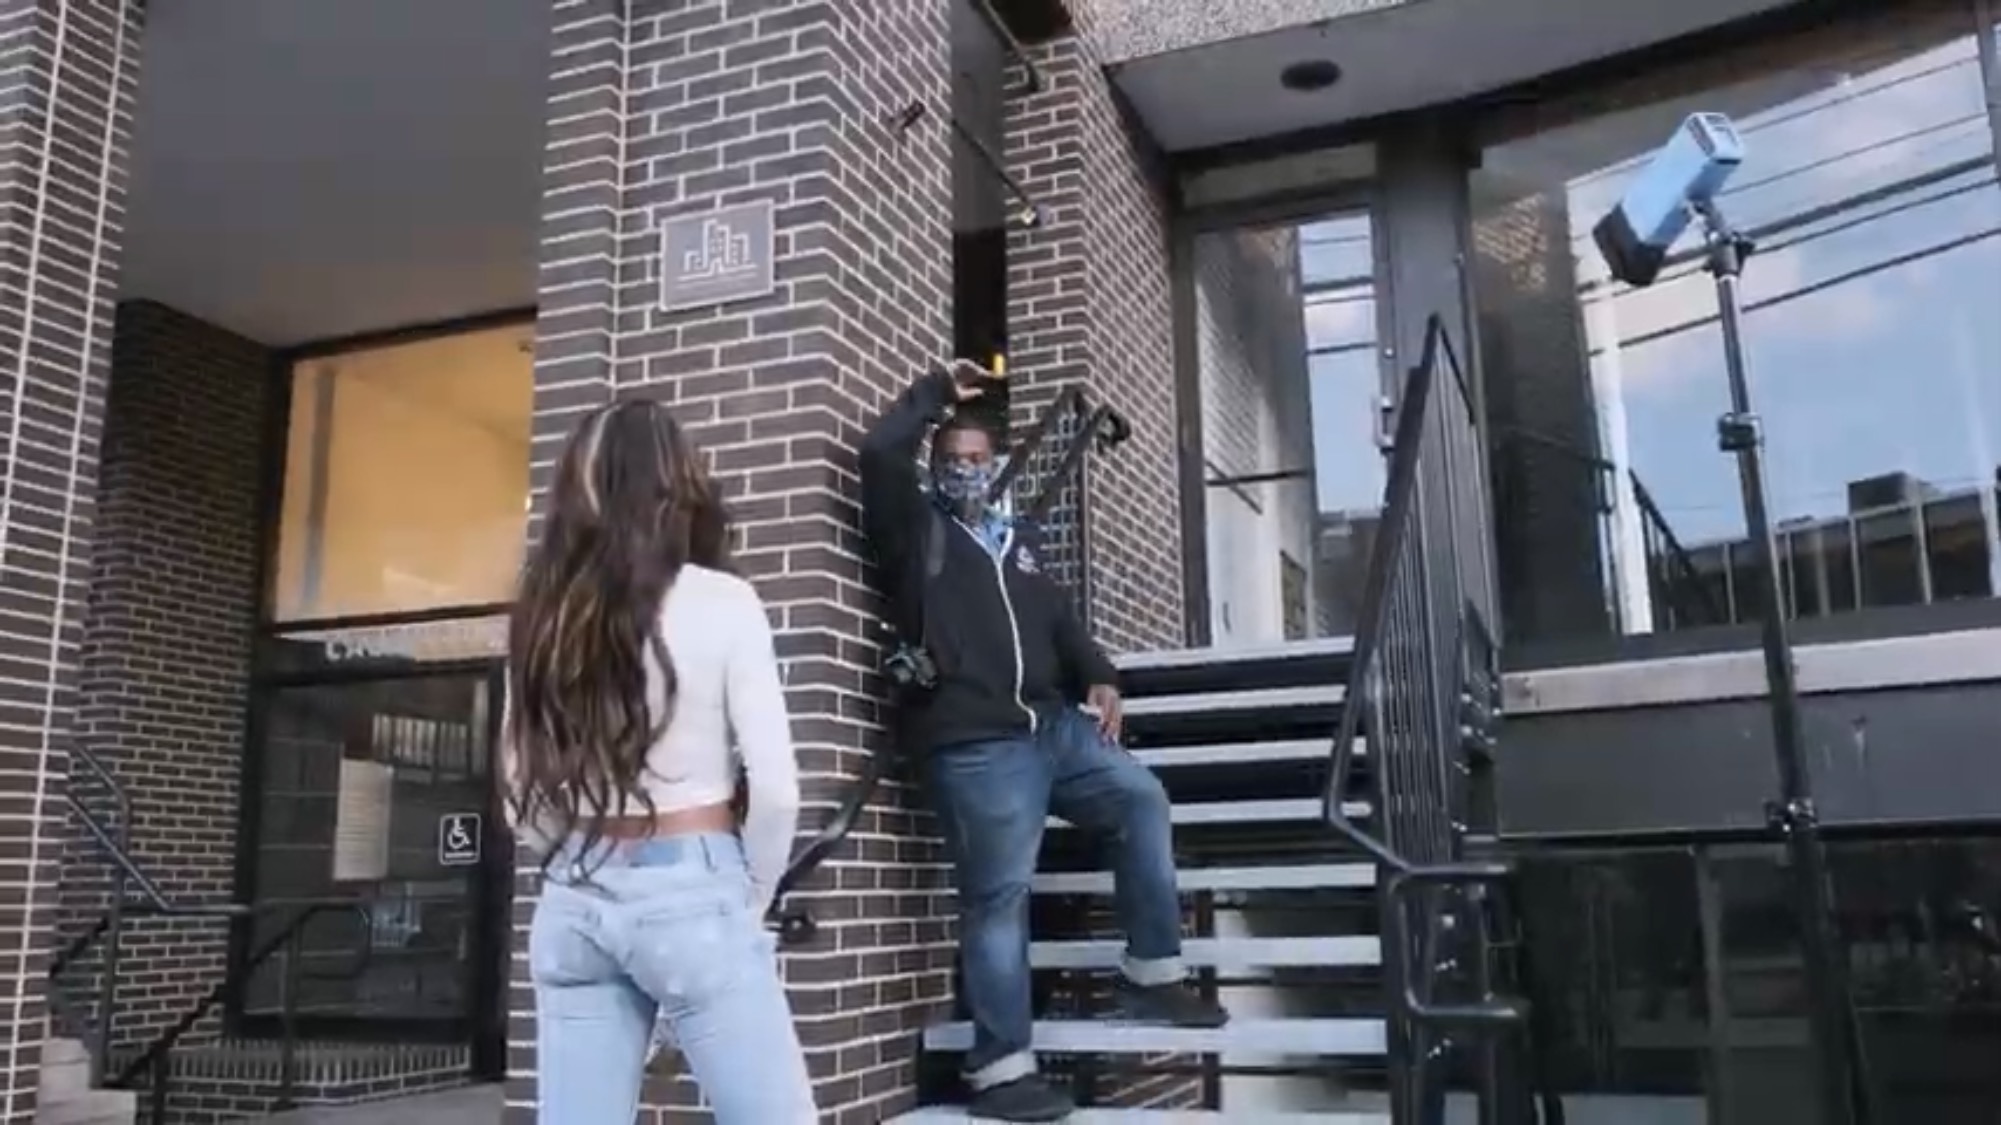
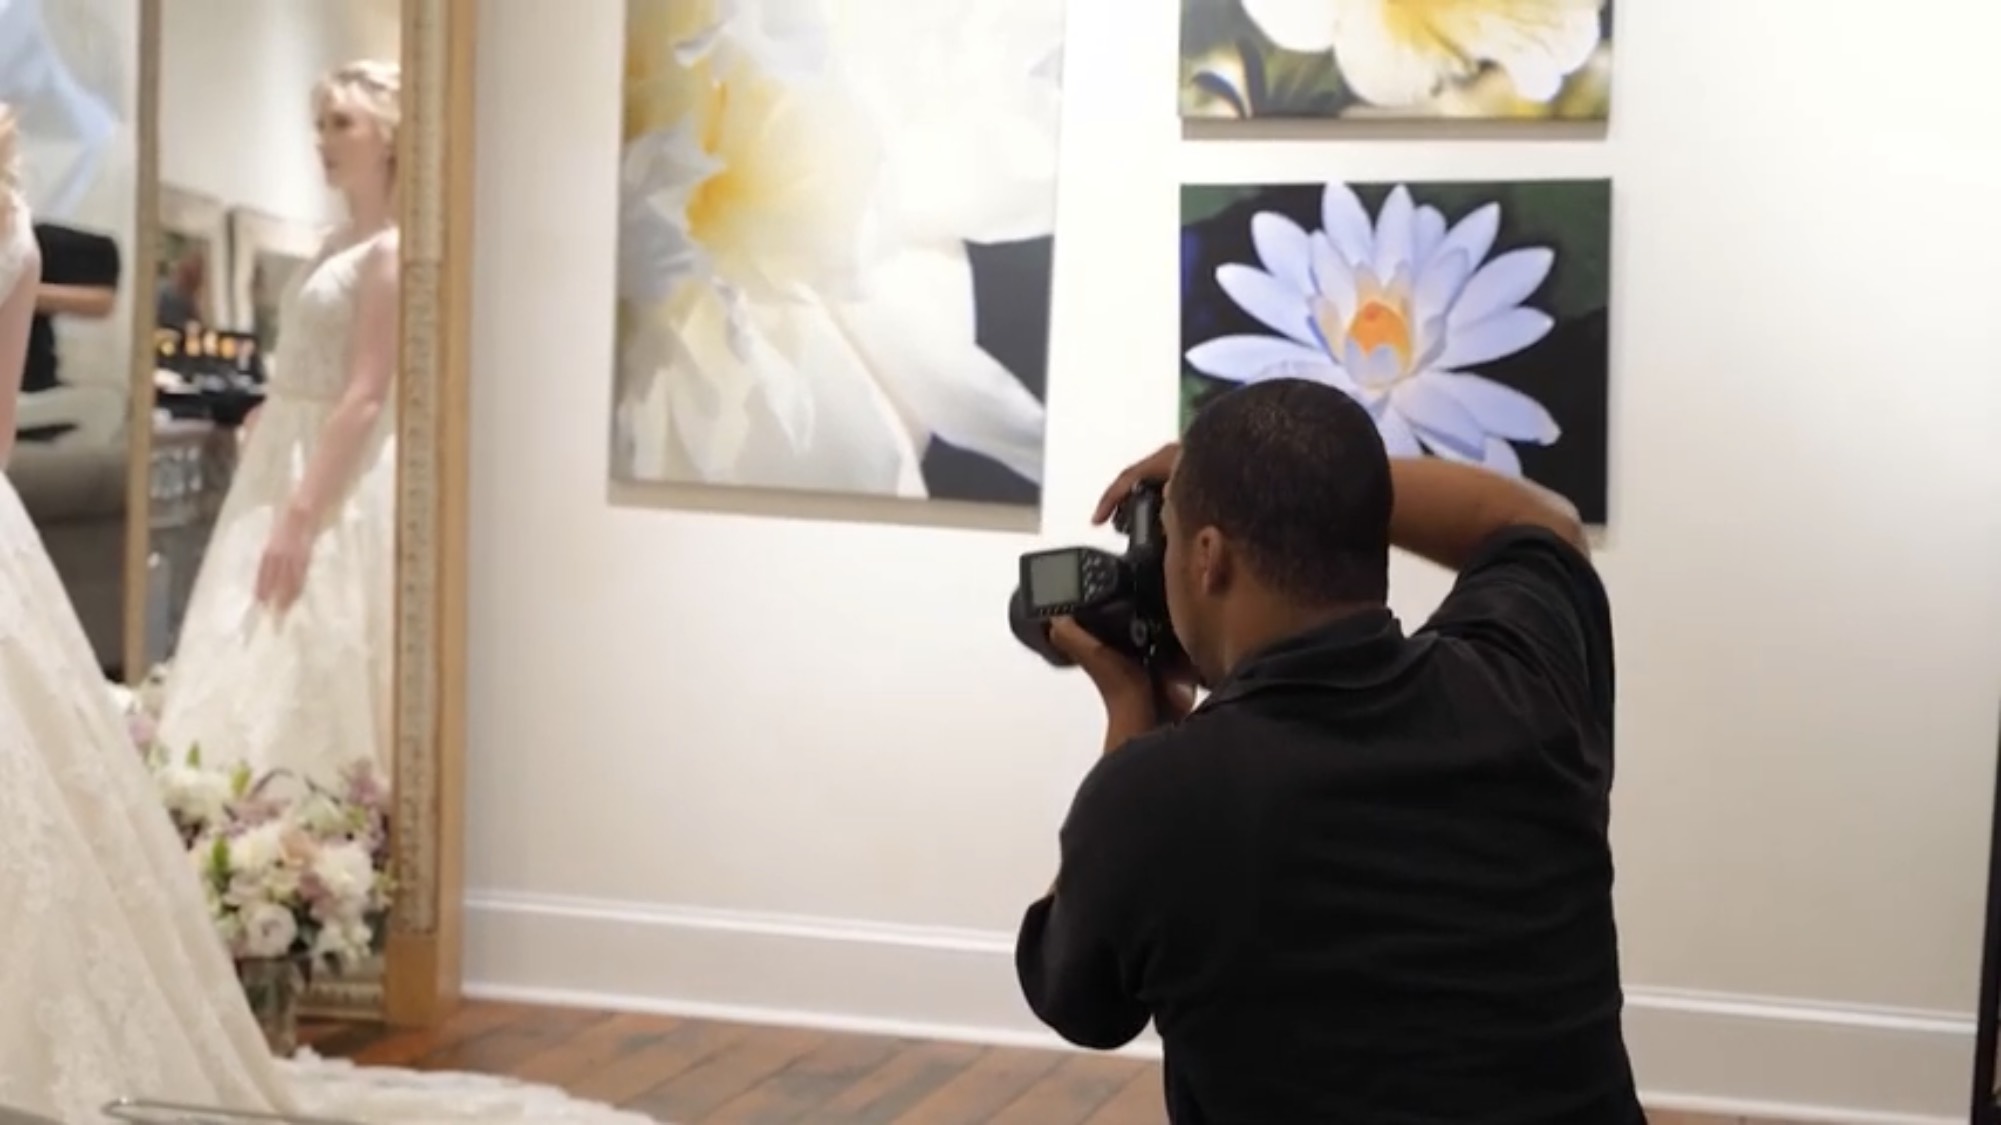
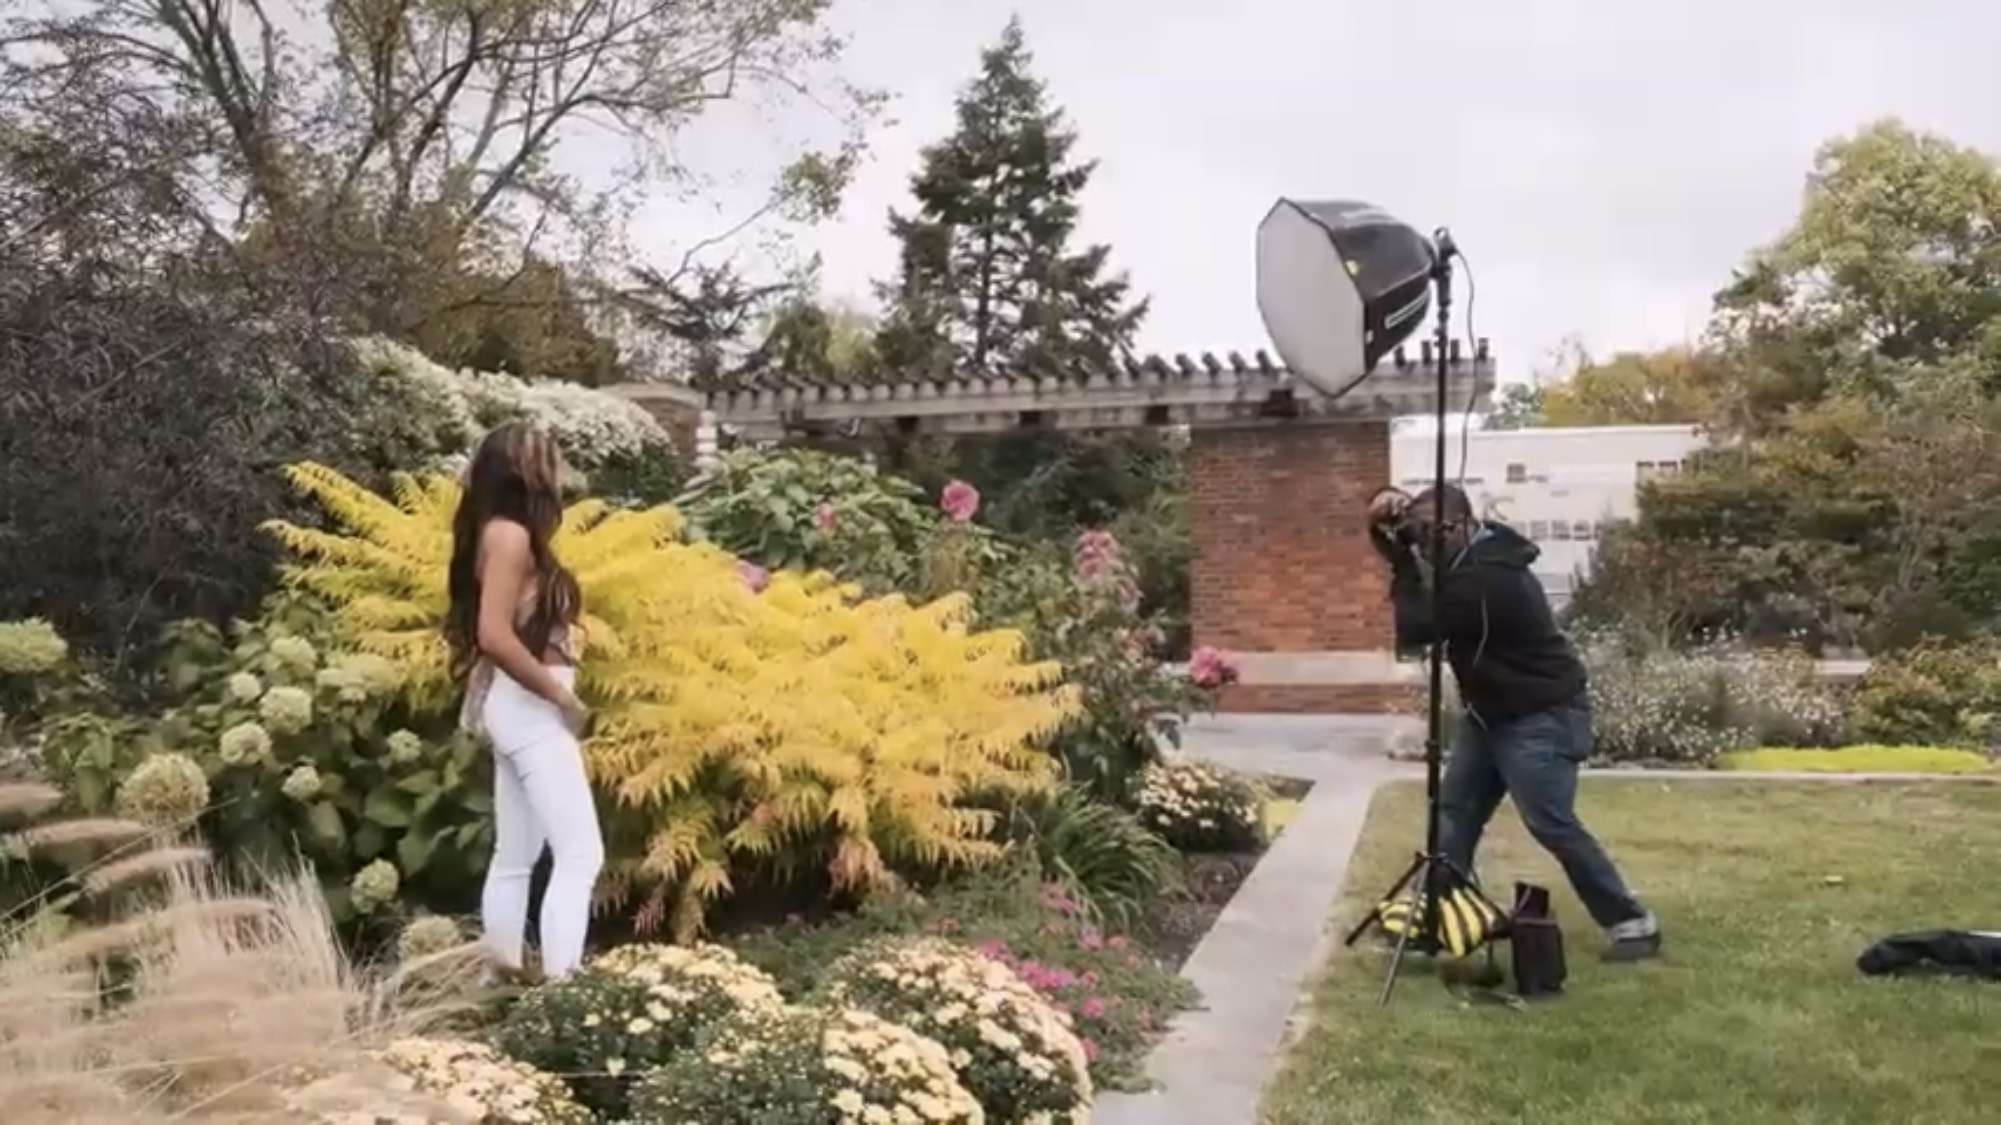
10 Questions with Viral TikTok Photographer, Michael T Davis
During Black History Month, I’m interviewing Black business owners and founders to help bring more eyes to their products and services and also to celebrate them. My next interview is with Michael T. Davis, owner of Michael T. Davis Photography, who recently went viral on TikTok. I asked him 10 questions. Below are his answers.
How did your business come to be? What was your motivation?
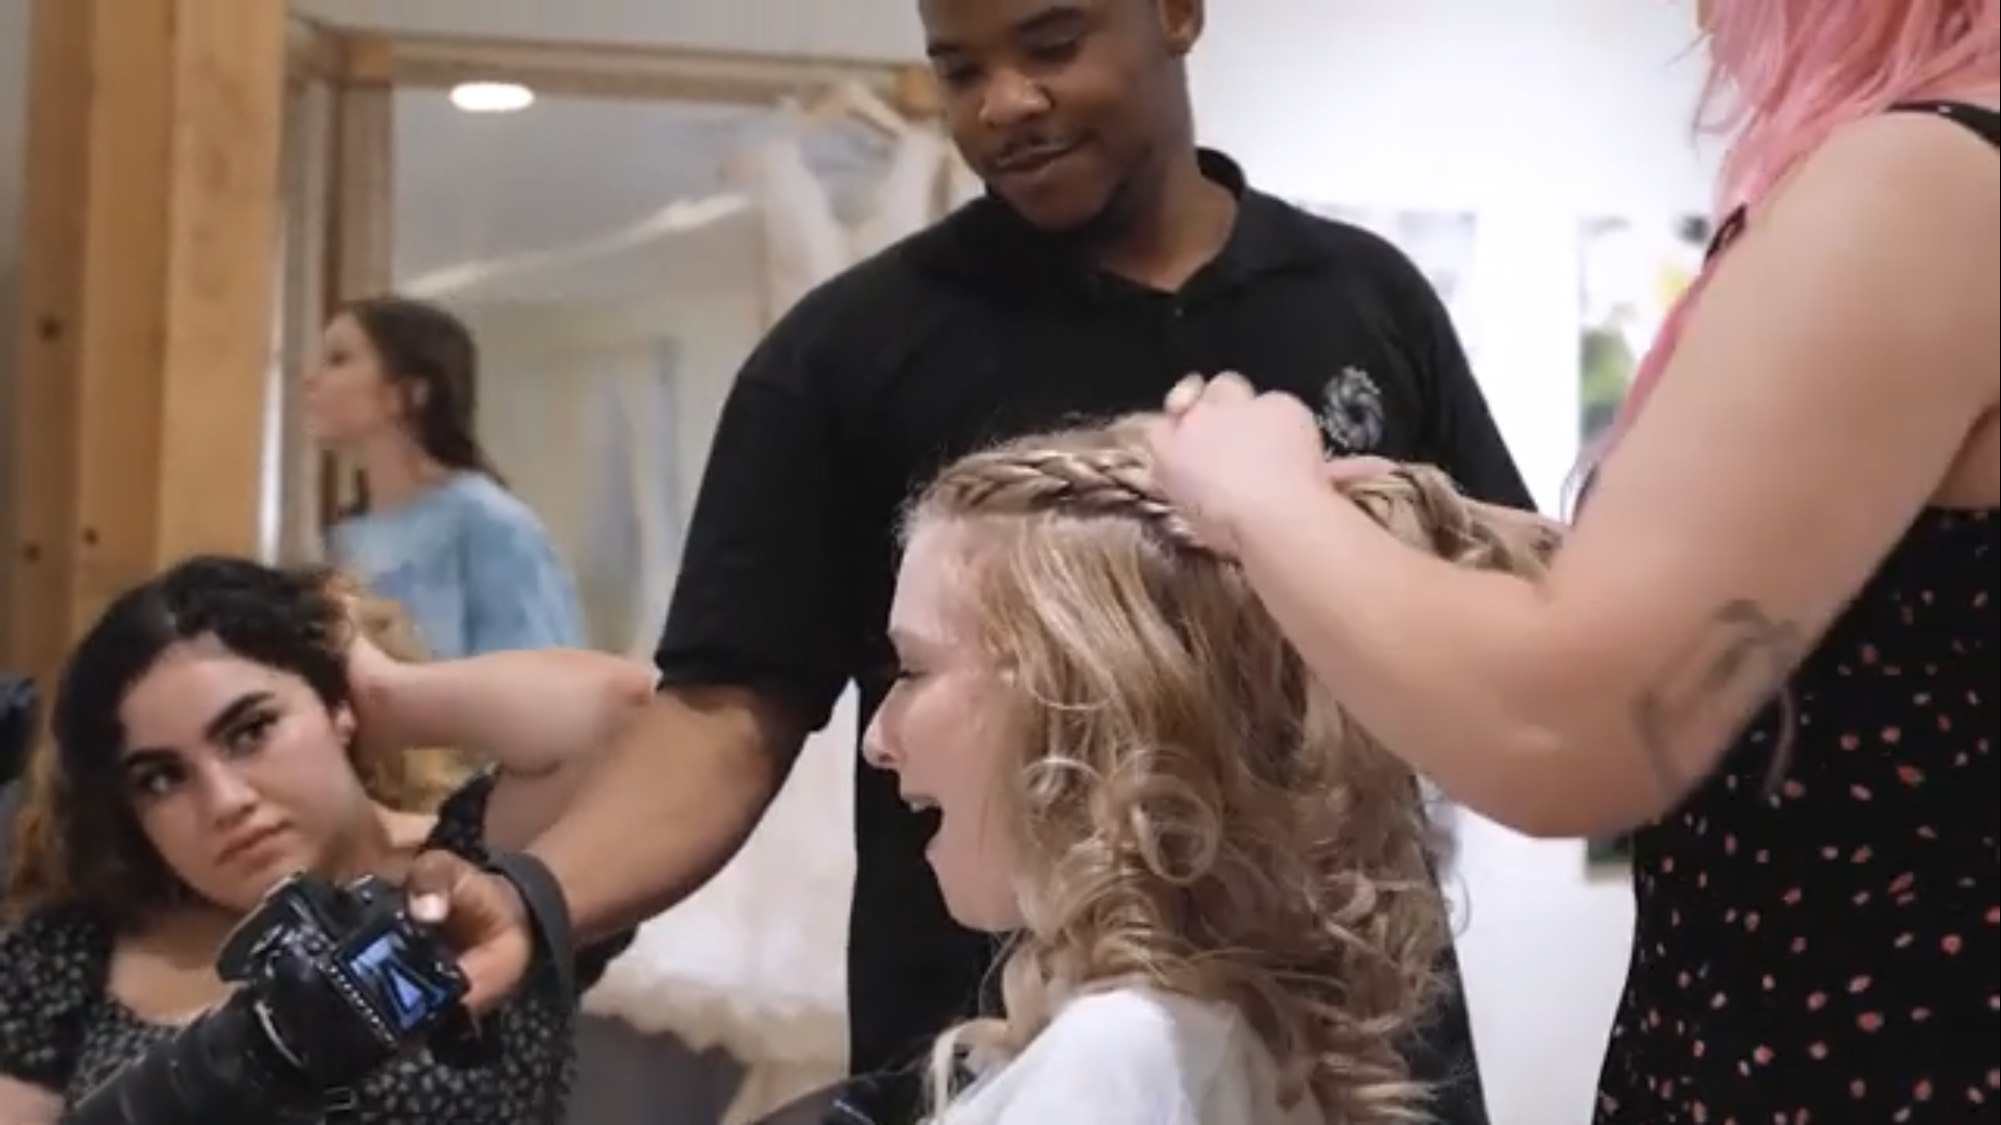
I photographed my first wedding in Philadelphia, on August 20, 2011, which was also my 1yr wedding anniversary, and my wife has yet to let me live it down. It came about because they saw some of my work on Facebook and decided to reach out. The experience was such a blast! I learned so much and really enjoyed the entire process. Prior to this event, I’ve never photographed a wedding before. So it was a leap of faith that they loved my work and trusted that I would do a great job.
11 yrs later, I photograph weddings full-time, educate others on how to run profitable photography businesses, speak at photography conferences and on podcasts, etc. Some would consider me an expert in the industry. I just consider myself a storyteller and wedding photographer
Did you face any adversities or obstacles in the beginning?
The biggest obstacle was learning about the industry. I didn’t know anything about weddings before photographing my first one. So, I did tons of research on timelines, the do’s and don’ts, gear, etiquette, etc. After my first wedding, I began to bring my camera to weddings when I was a guest and photographed that.
About 1-2 yrs after that I was approached by a wedding company in Baltimore to join their team. It was here where I gained the much needed experience and portfolio. I was a 2nd photographer (one who assists the main photographer) for about a year. Then I was promoted as the main photographer. I developed a close relationship with the owners of the company and began to get a better insight on the business side as well.
Did you have a support system starting out?
Starting out, I mostly relied on my friend network to practice my photographer skills. They were great at getting in front of the camera so that I can refine my techniques. My wife was, and still is, my biggest advocate. She has been extremely supportive both mentally and physically. Without her, I would probably have never made it because imposter syndrome is so hard to get over without the proper people in your corner.

What void would you like to fill in the Black community with your business?
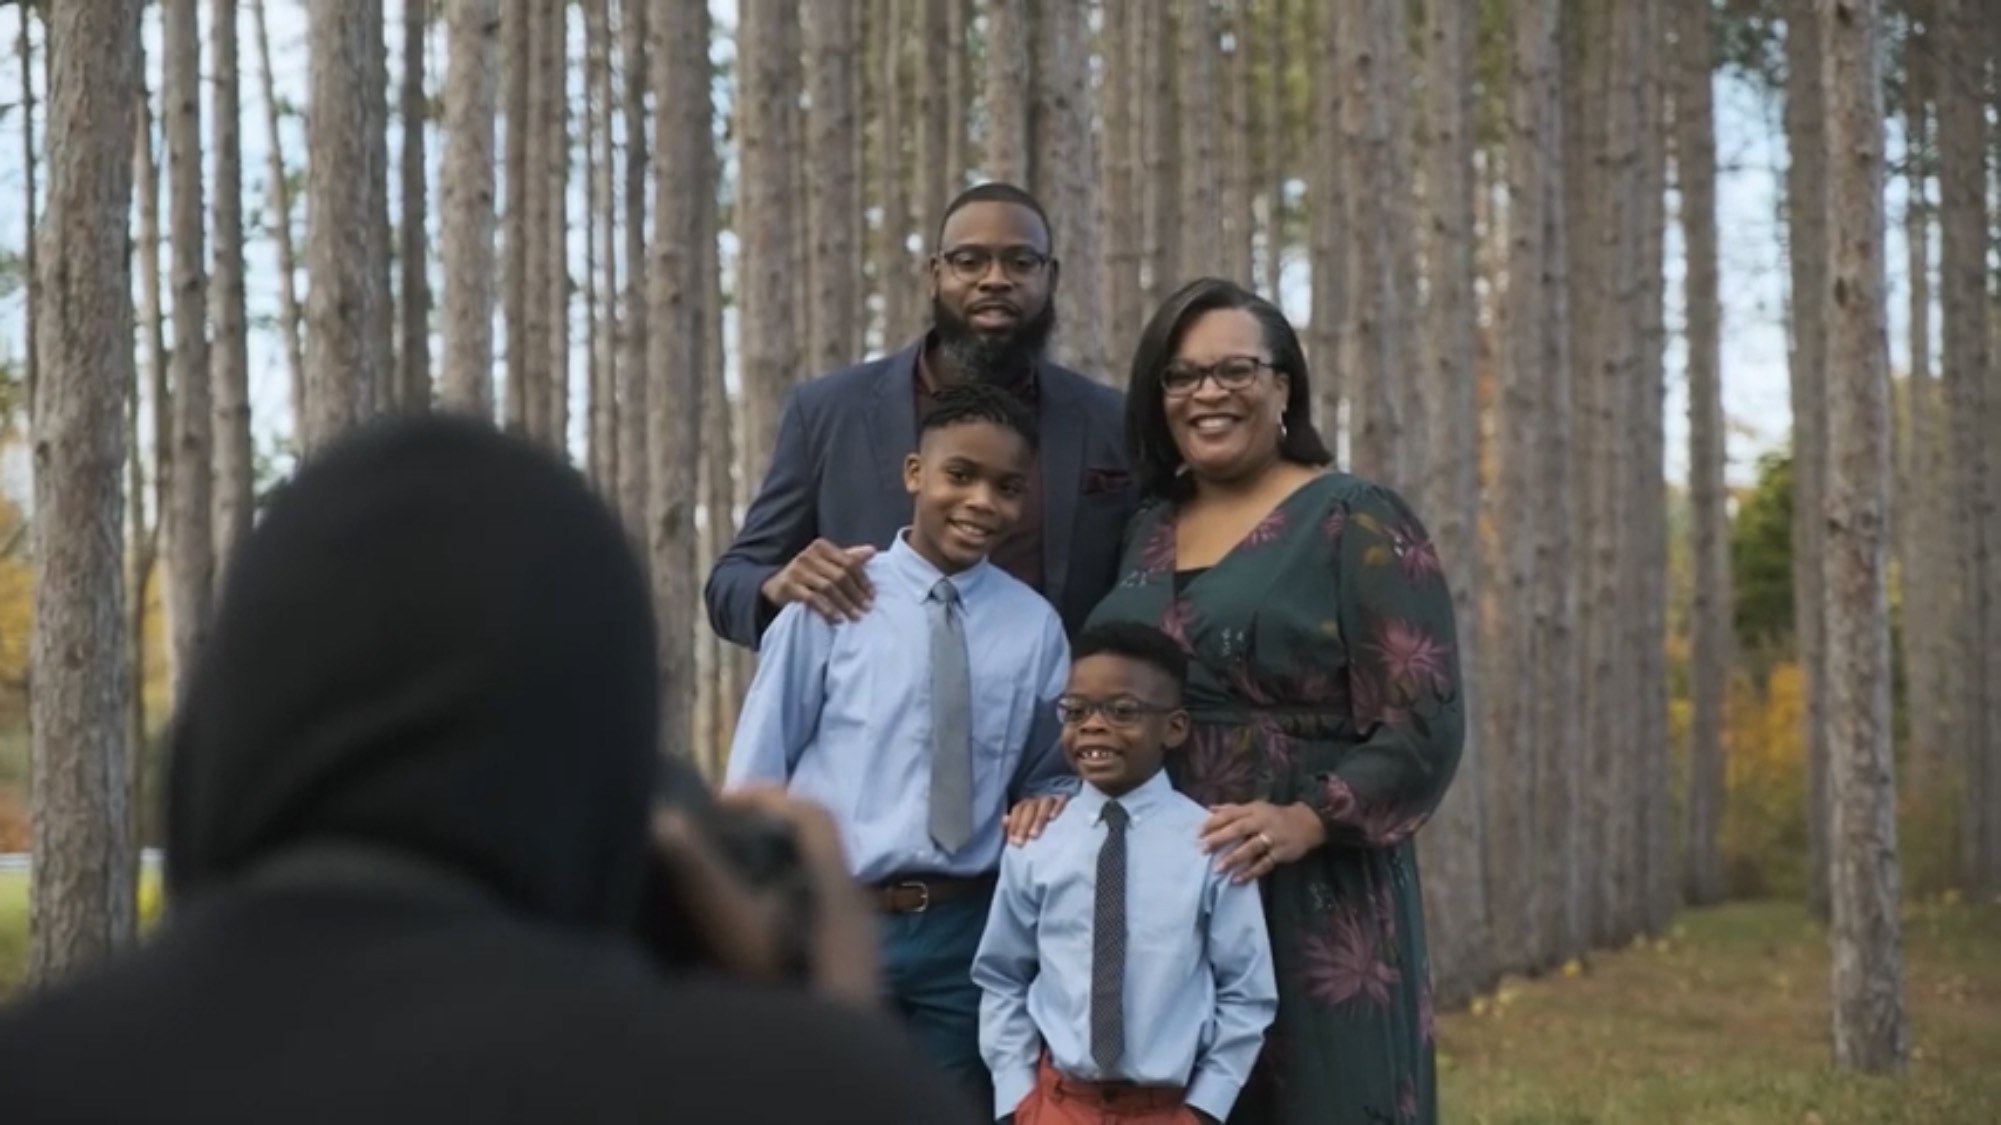
I want to preserve the stories of black families. One of the largest gaps in our community is that we pass down our verbal stories but not the visual ones. I find that it’s mostly because as a whole we don’t prioritize documenting our journey as much as our white counterparts. I want to change that narrative. As a storyteller and photographer, I am using my talents and skills to help black families, not only take more photographs, but hang them on their walls and shelves. Our children need to see themselves hanging on the walls and when they look through albums.
How do you keep yourself motivated to keep going?
I surround myself with the right people. I have people in my corner who are further along in the industry, as well as those who are a few steps behind me. This allows me to stay inspired and inspire others in the process. It allows me to practice humility and still grow as an artist and an educator.
The 2nd biggest motivation is my family. I want to redefine what success looks like for my children. I want them to believe that they have options and that it’s possible to do what you love and be profitable at the same time. They are watching all of my accomplishments as well as setbacks, and it’s important for them to witness what entrepreneurship looks like in real-life, not just in theory.
Who, if anyone, has inspired you during your journey?
My biggest inspiration has always, and continues to be my wife. We had our first child when she was 19. She never took a break from college. She even continued on to get her PhD from Johns Hopkins. Now she is one of the foremost scholars of the history of Black women athletics in the 20th century. Her determination to always push forward, even through the darkest times, keeps me motivated. I push her and she pushes me to be the best for our children, our crafts, and ourselves.
How can we, the community, help you exceed your current level?
The best way to help is to hire me and tell others about the work that I do. As a storyteller and photographer, I follow my couples’ journey from the aisle to their 1st born graduating college and beyond. I am my family’s photographer for life.
Do you have any announcements or good news you’d like to share?
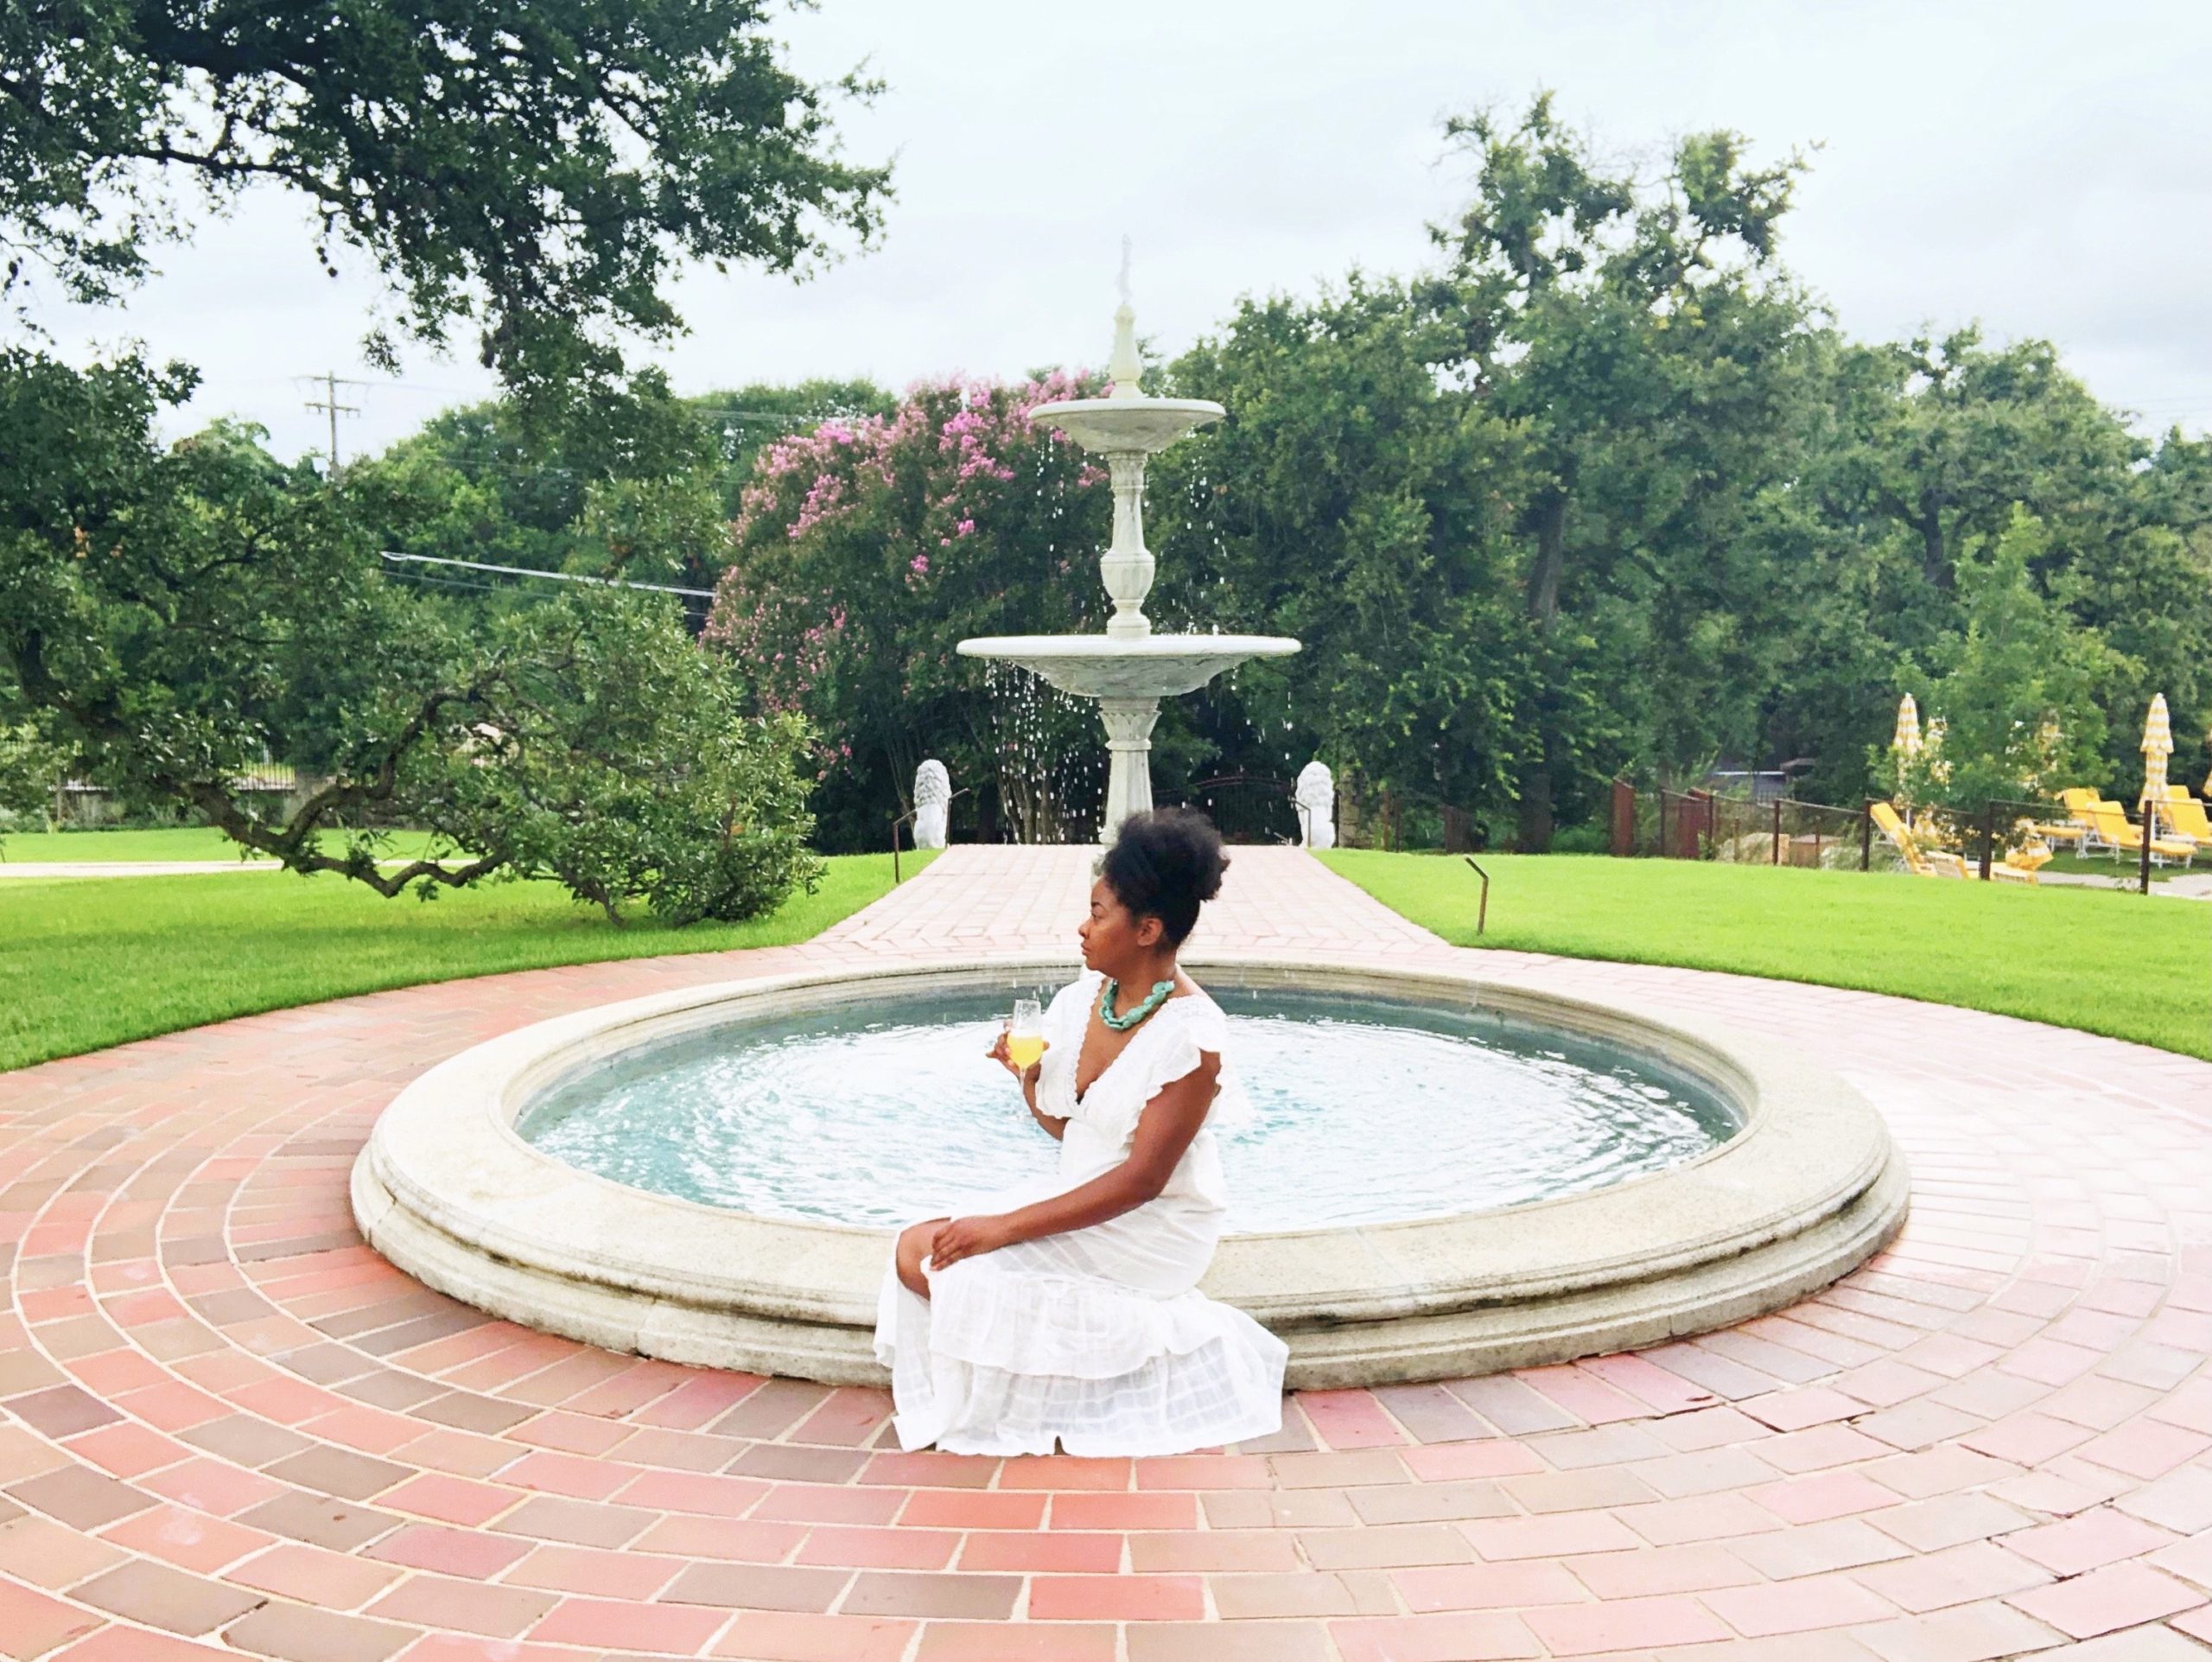
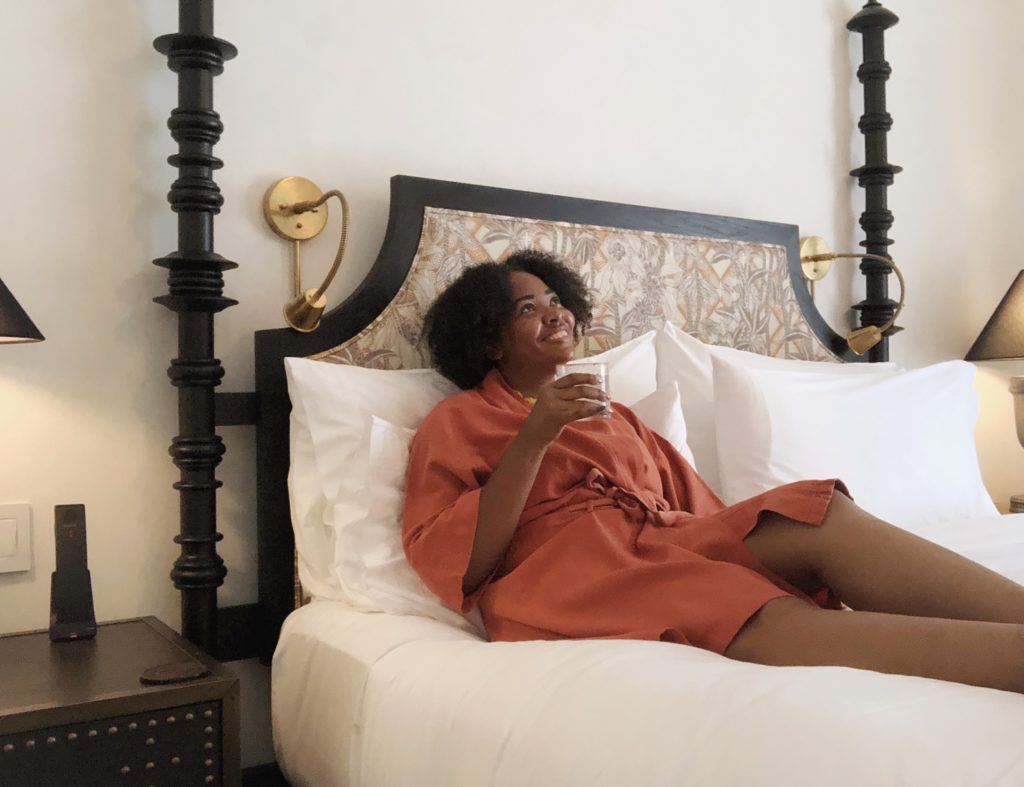
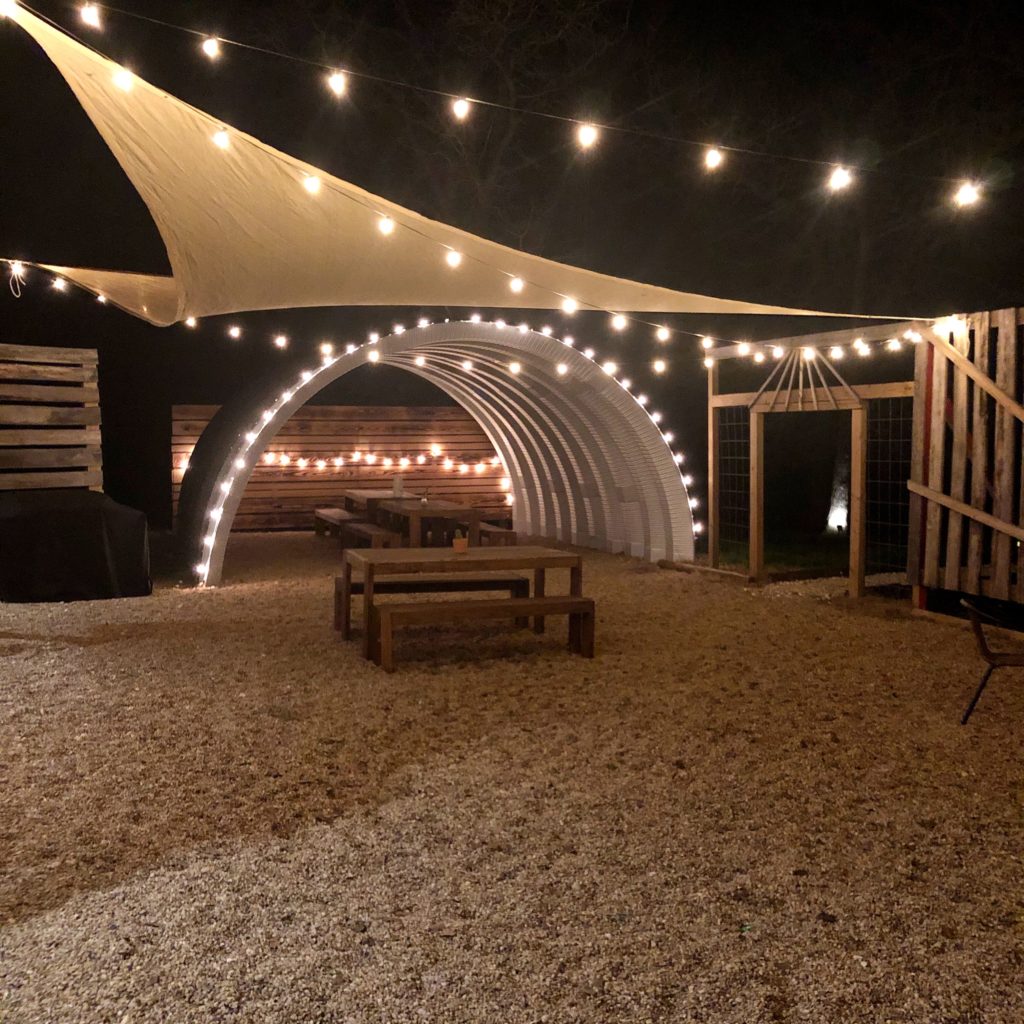
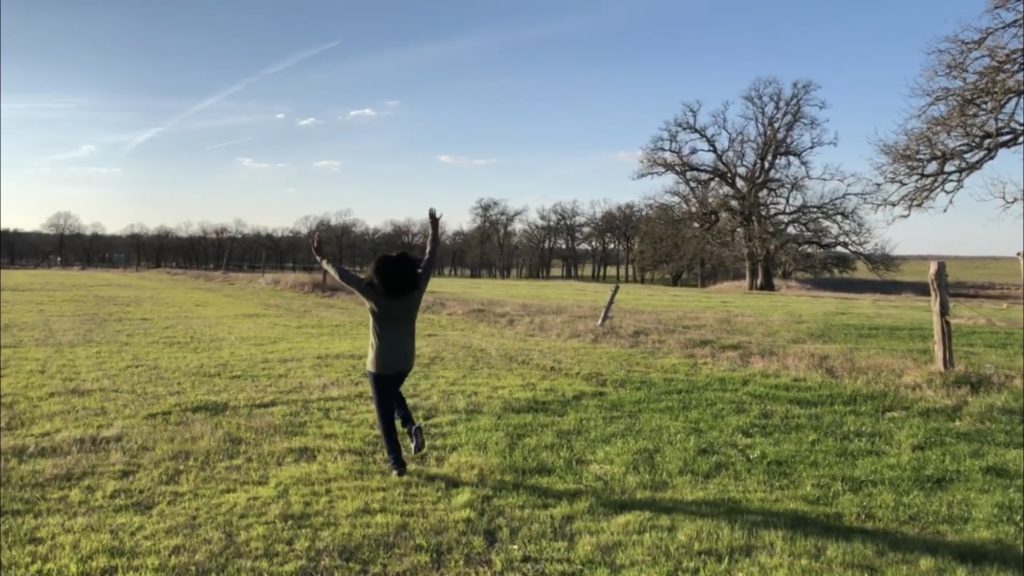
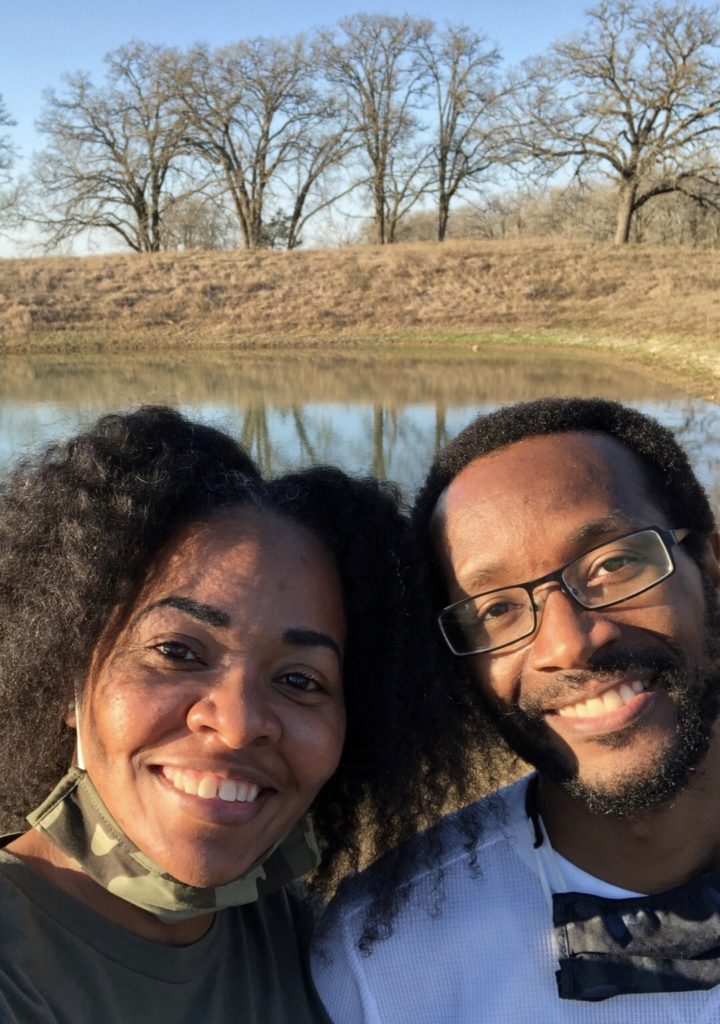
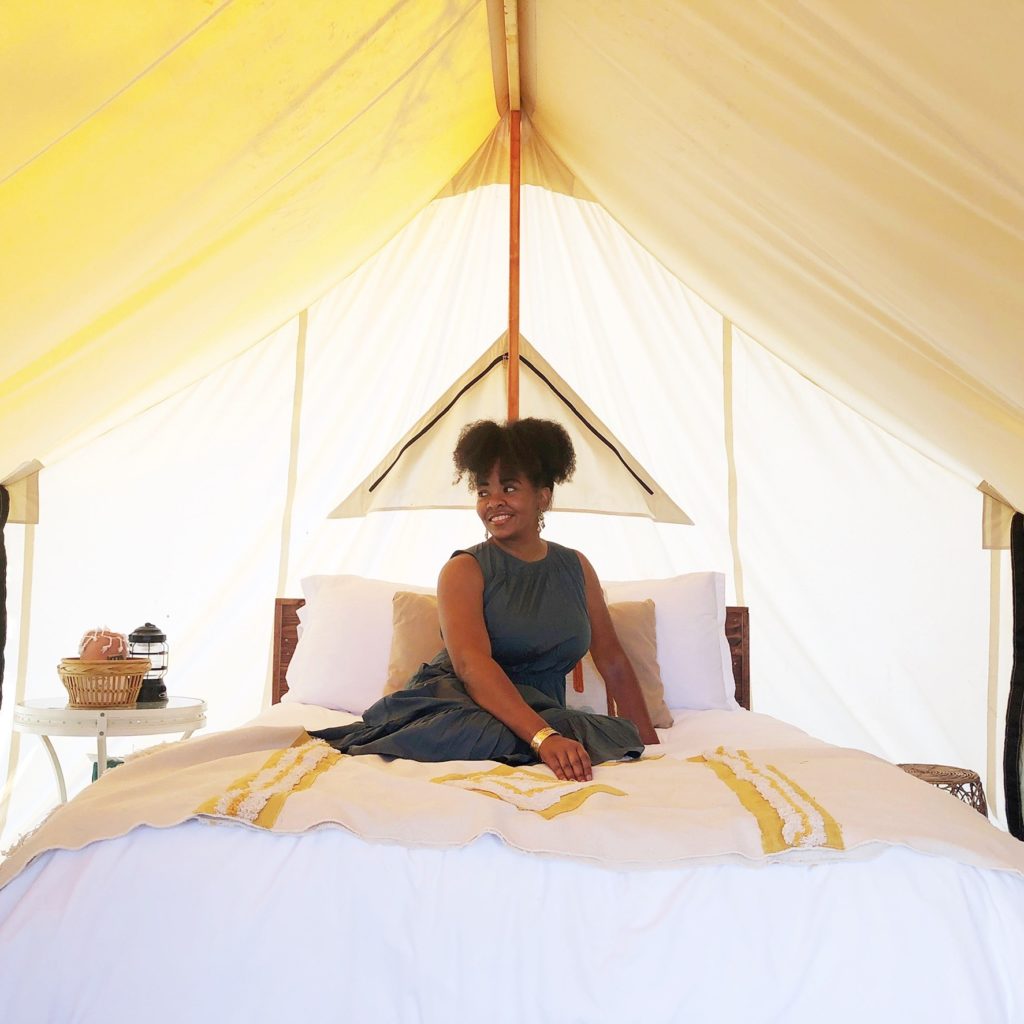
This past week, one of my weddings went viral on TikTok. It has had over 7 million views within a 4-day span. I’m so excited that I get to share my work with millions of people around the world! Watch it here.
What’s one piece of advice you’d give someone starting the business owner/entrepreneurial journey?
You can’t do everything well. Invest in yourself. Hire a mentor. Outsource where and when you can. This will allow you to only focus on the things that matter most to you, while everything else is working in the background. This will also help avoid burnout and lead to sustainability and longevity.
How can we find you to give our support? What’s your website and social media info?
website: www.mtdphotography.com
tiktok: @mtdphotography
FB: Michael T Davis Photography
I’d like to thank Mr. Davis for taking the time to do this interview. Be sure to follow him on social media for more behind the scenes content, and head to his website to book him for your next photography session.