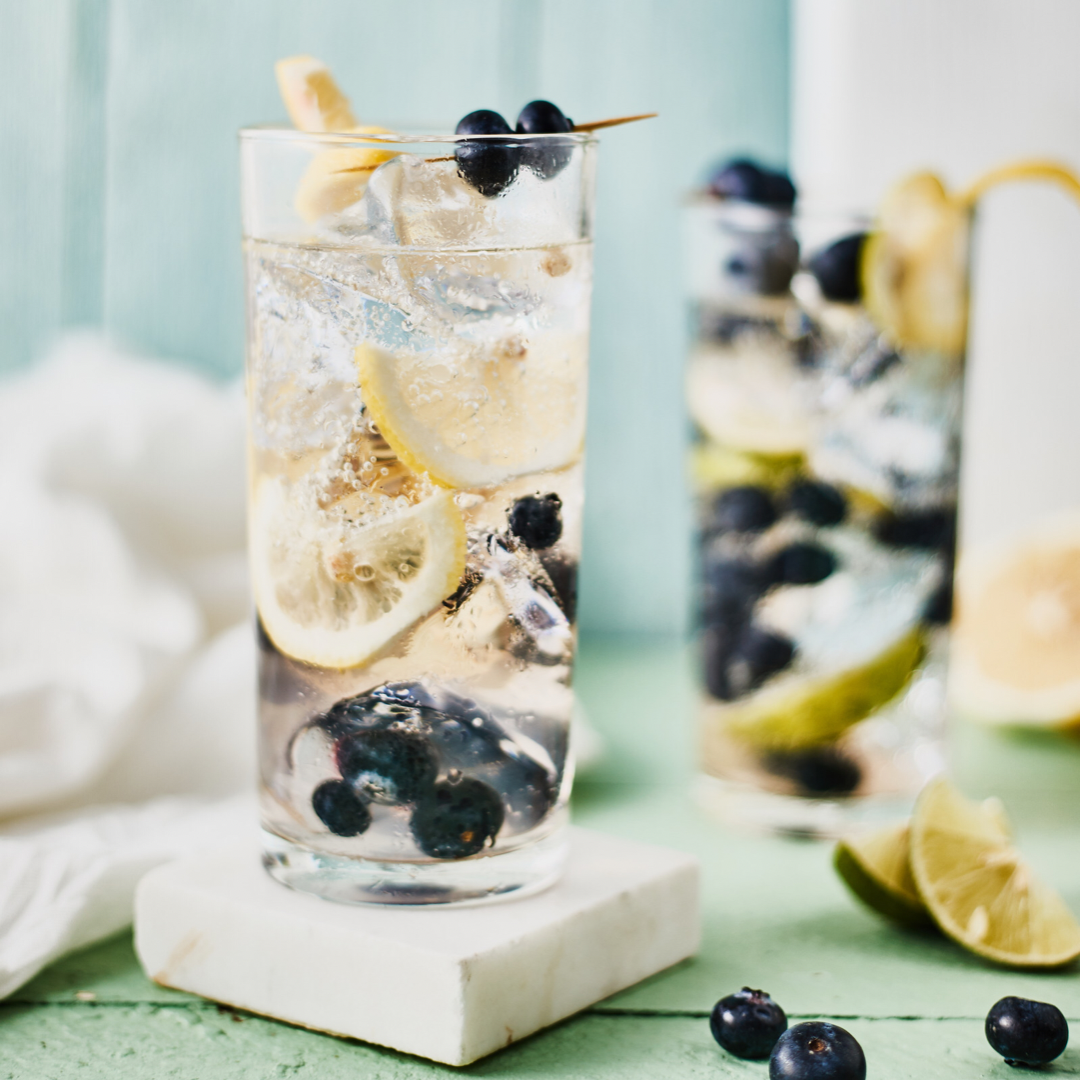
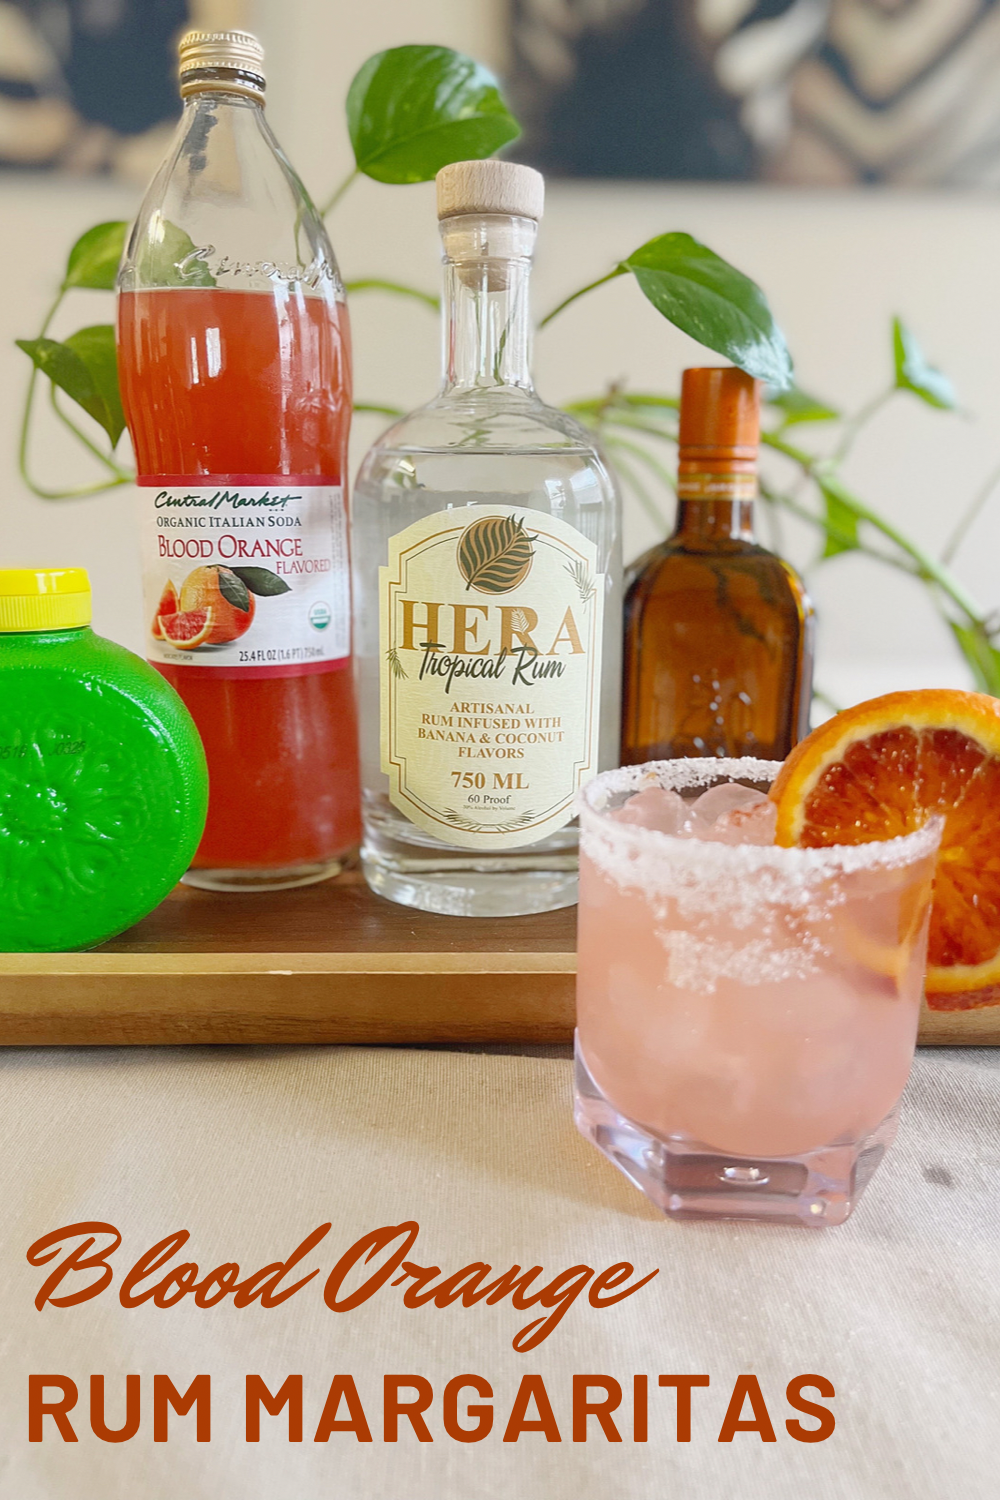
Blood Orange Rum Margarita
Welcome to Saturday Sips which showcases cocktails made with Texas based wine and spirits.
This site contains product affiliate links. We may receive a commission if you make a purchase after clicking on one of these links.
Every week, I check the new H‑E‑B ad to see what fruits have been added. Last week, I noticed they now had blood oranges. I’ve never had a blood orange, but I’ve always been intrigued by their dark, almost red flesh. So I decided to give them a try.
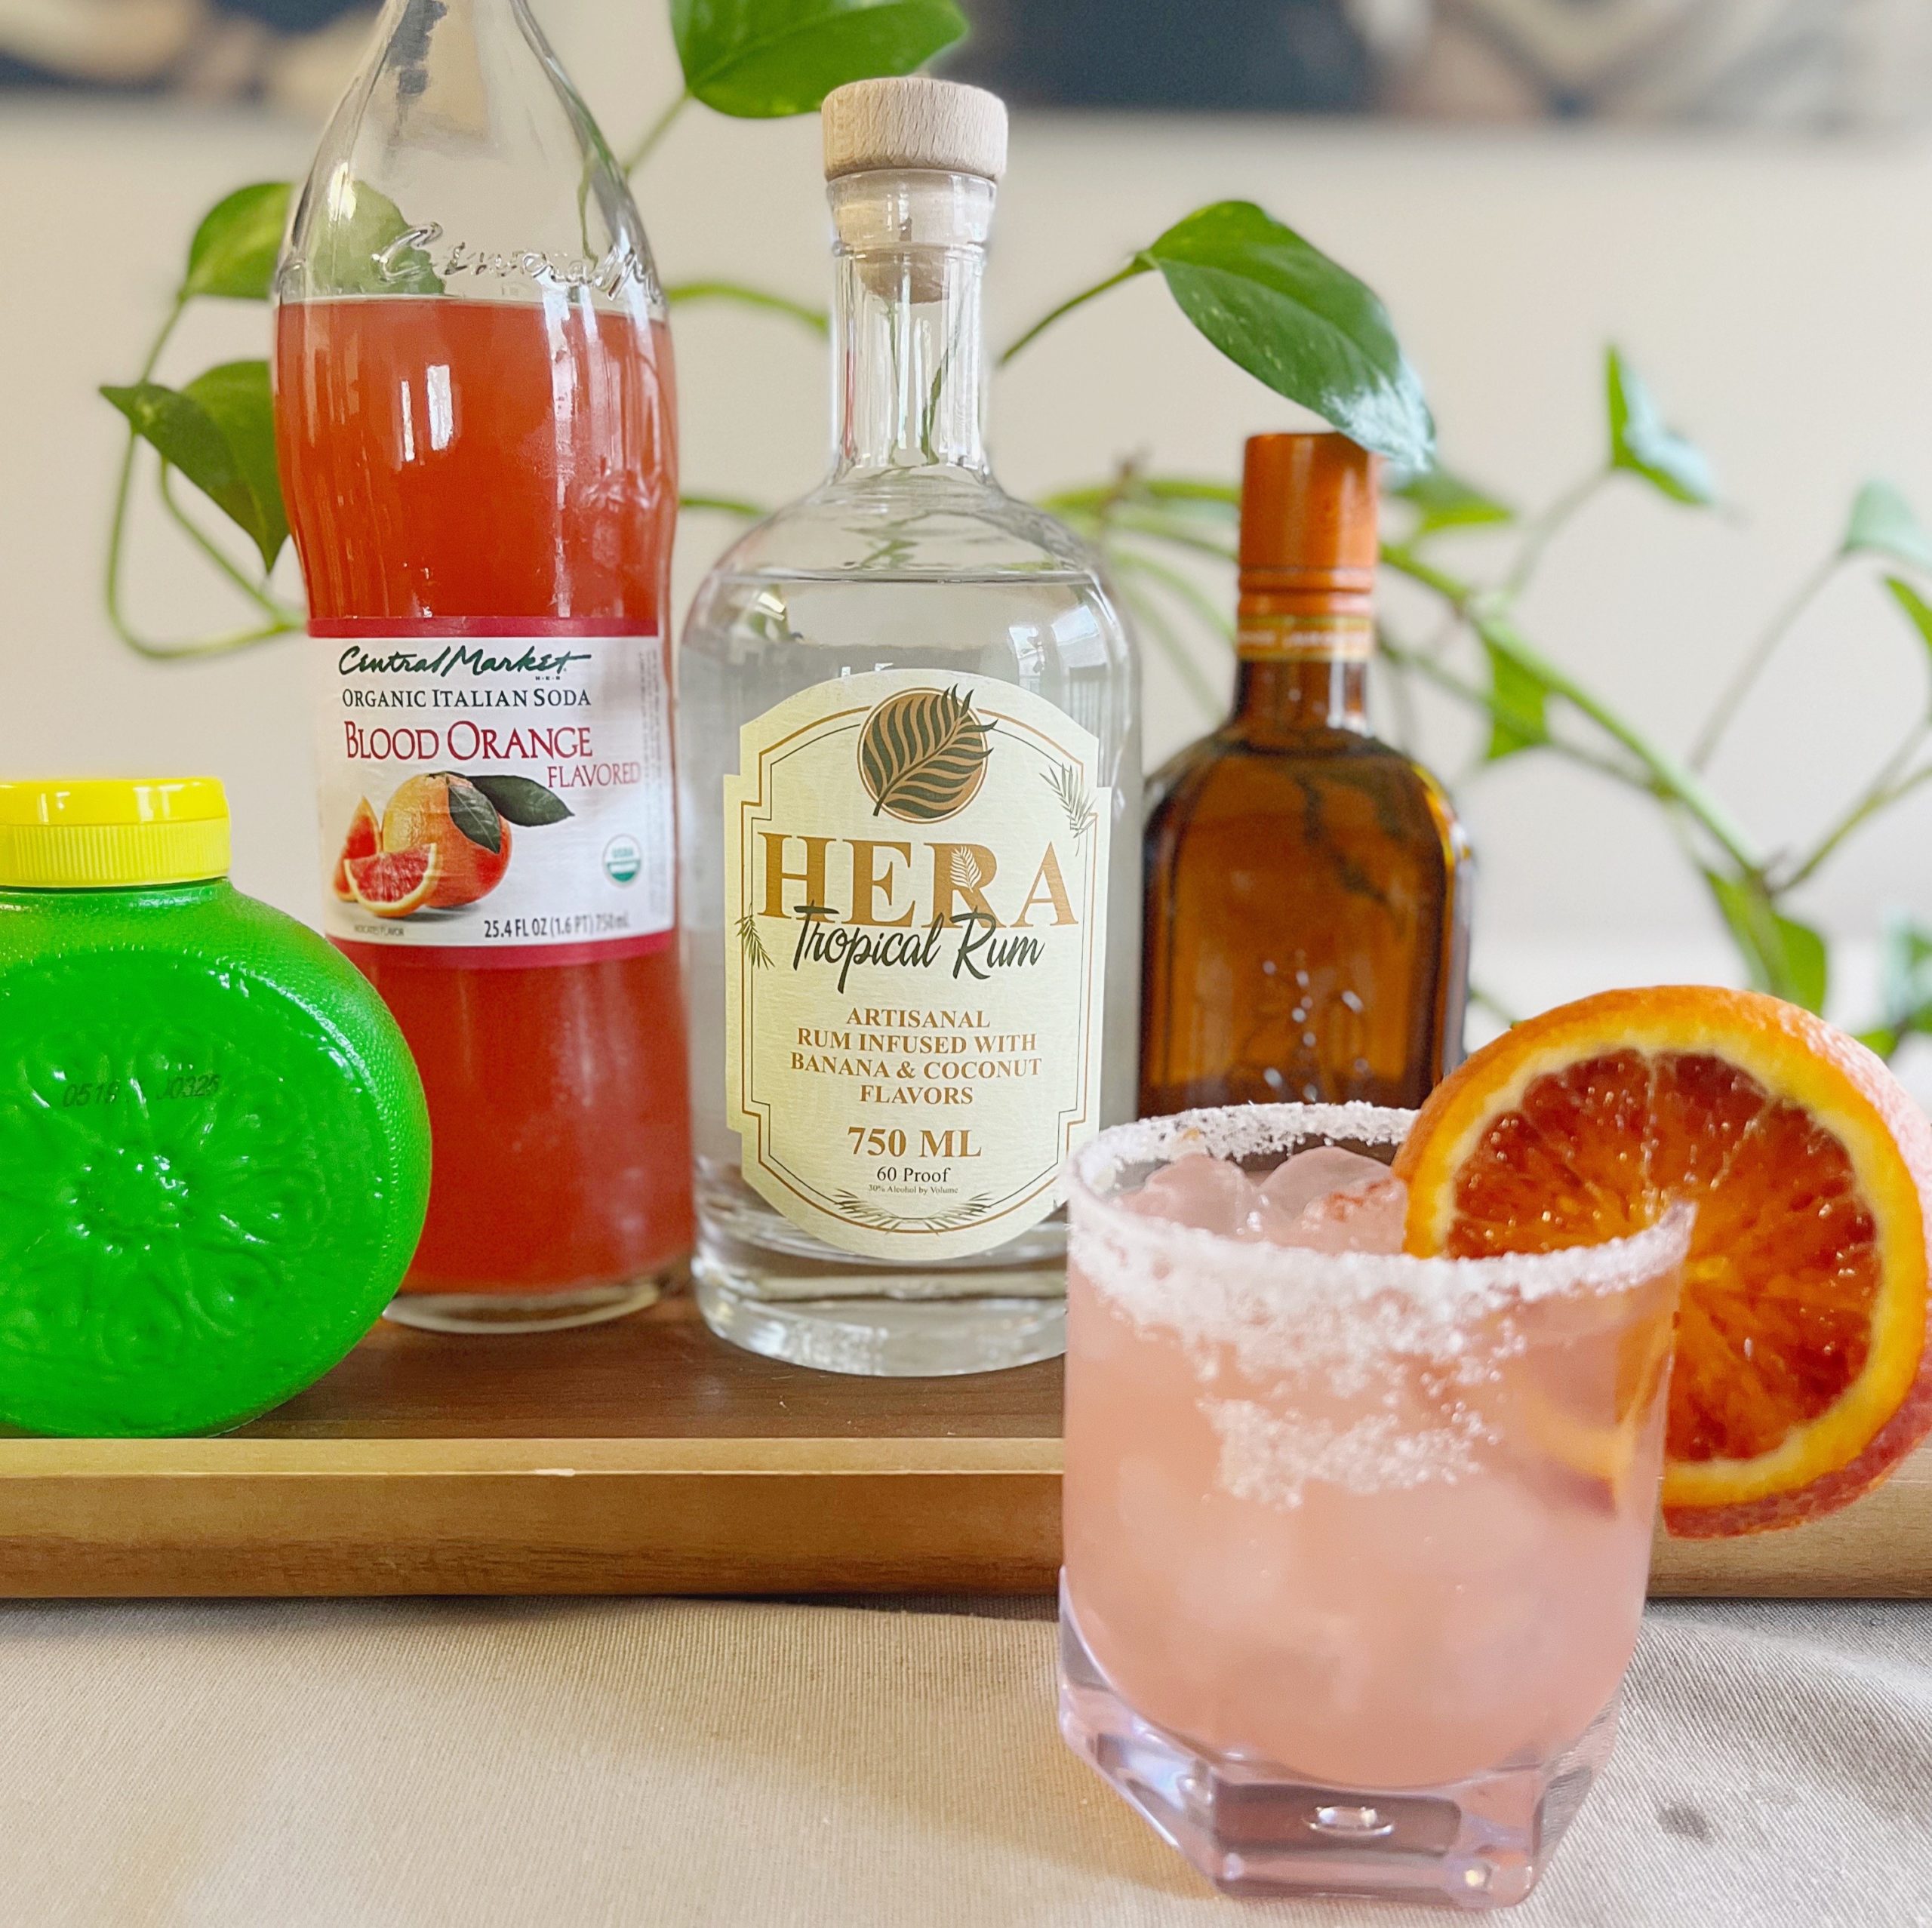
I also recently got a new rum I’ve never tried before called Hera Tropical Rum. This rum is made right in Austin by rap artist and innovator Anastasia Hera. The all natural rum is brightly flavored with notes of banana and coconut.
I don’t know why, but something inside me said, “Make a cocktail with the oranges and rum!” So, I did. I almost instantly knew I wanted it to be something like a margarita. So, I searched our liquor cabinet and fridge to see what we already had that would work. Then I checked the grocery store online for blood orange flavored things.
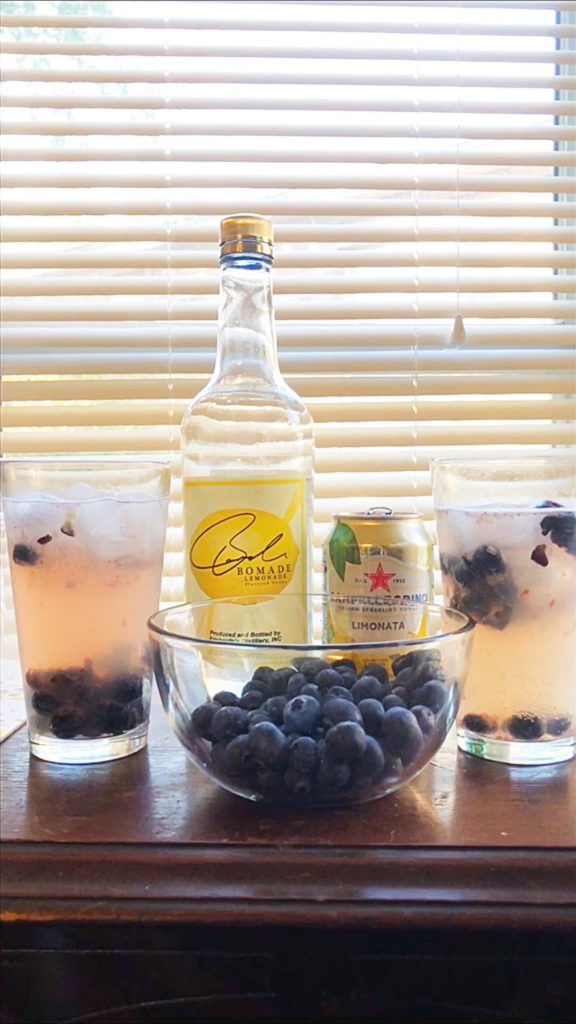
At home, we had orange liqueur, lime juice, and of course the rum. So the base was looking good. I then ordered the blood oranges and blood orange Italian soda to round the recipe out.
Blood Orange Rum Margarita
Equipment
- 1 knife
- 1 saucer (small plate)
- 1 jigger
- 1 shaker
Ingredients
- ¼ cup granulated sugar
- 1 blood orange
- 2 oz Hera Tropical Rum
- 1 oz orange liqueur
- 4 oz Italian soda
- 1 oz lime juice
Instructions
- Slice blood orange and wet glass rim with slice. Pour sugar on saucer, and dip glass's rim in the sugar.
- Fill the shaker with ice, and add the rum, liqueur, soda, and lime juice. Place the lid, and shake for about 30 seconds.
- Remove strainer cap from shaker. Fill sugar rimmed glass with ice, and strain shaker contents into glass.
- Finally, place orange slice from earlier on glass rim for garnish.
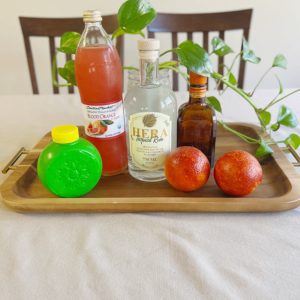
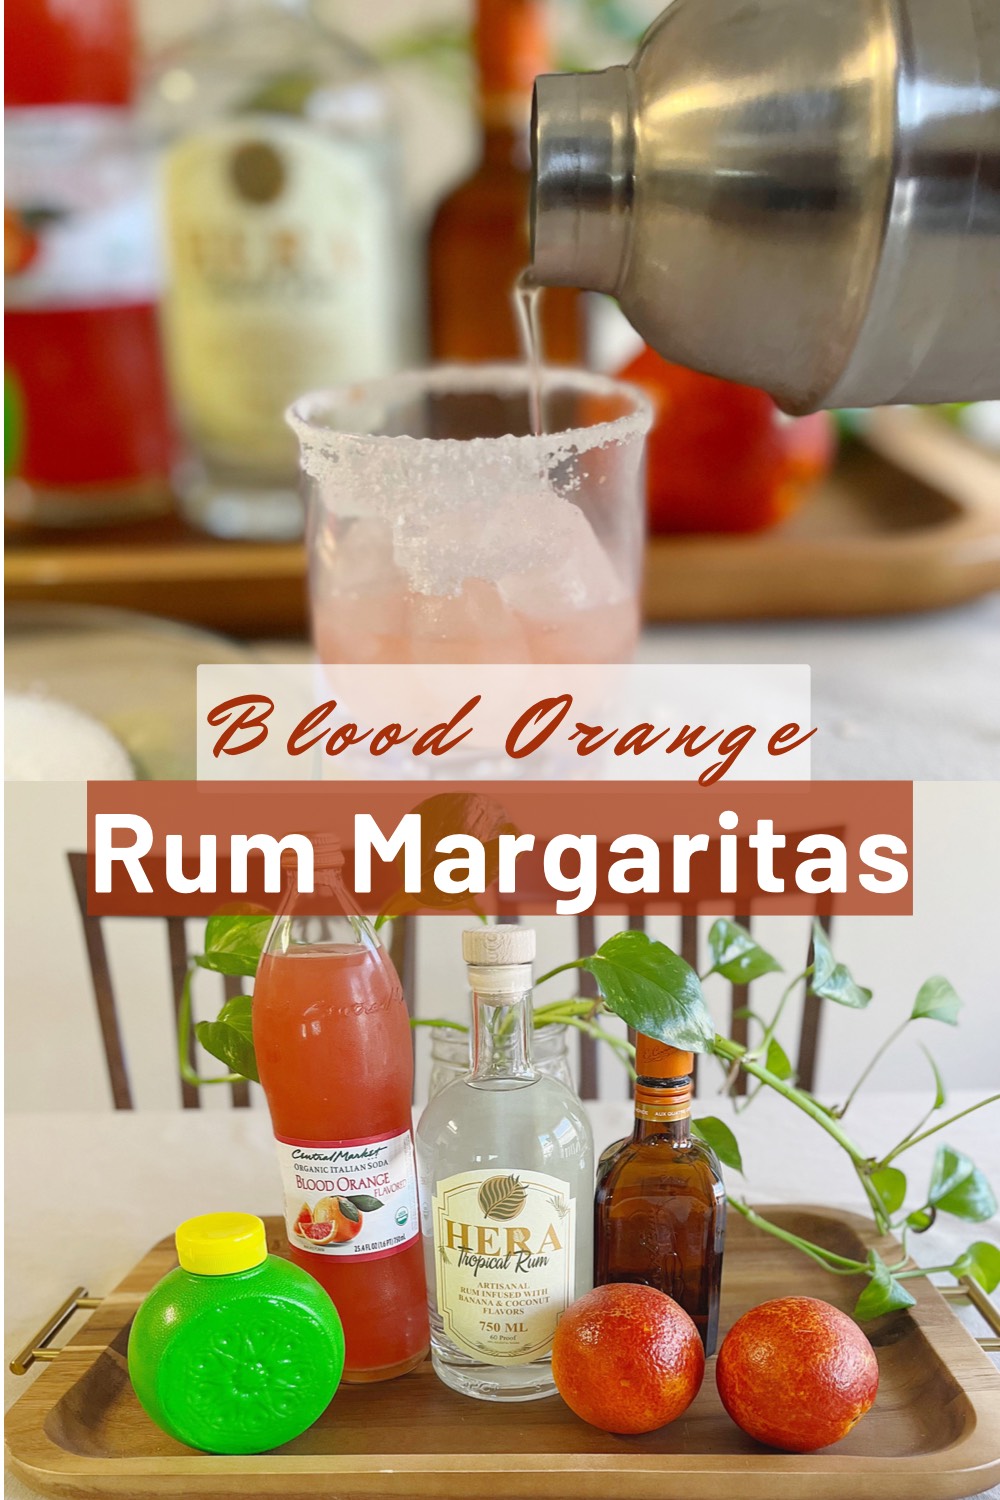
Gather Your Ingredients
So, before we start, let’s get all our ingredients in one place. You’ll need
• tropical or white rum
• orange liqueur
• lime juice
• blood orange Italian soda
• blood oranges (mostly for garnish)
• sugar
• and ice
I’m a sugar rim girl. So, that’s how I made this cocktail, but I was tempted to try some pink Himalayan sea salt just for looks. If you prefer salt on your margarita, try it out, and let me know how it is.
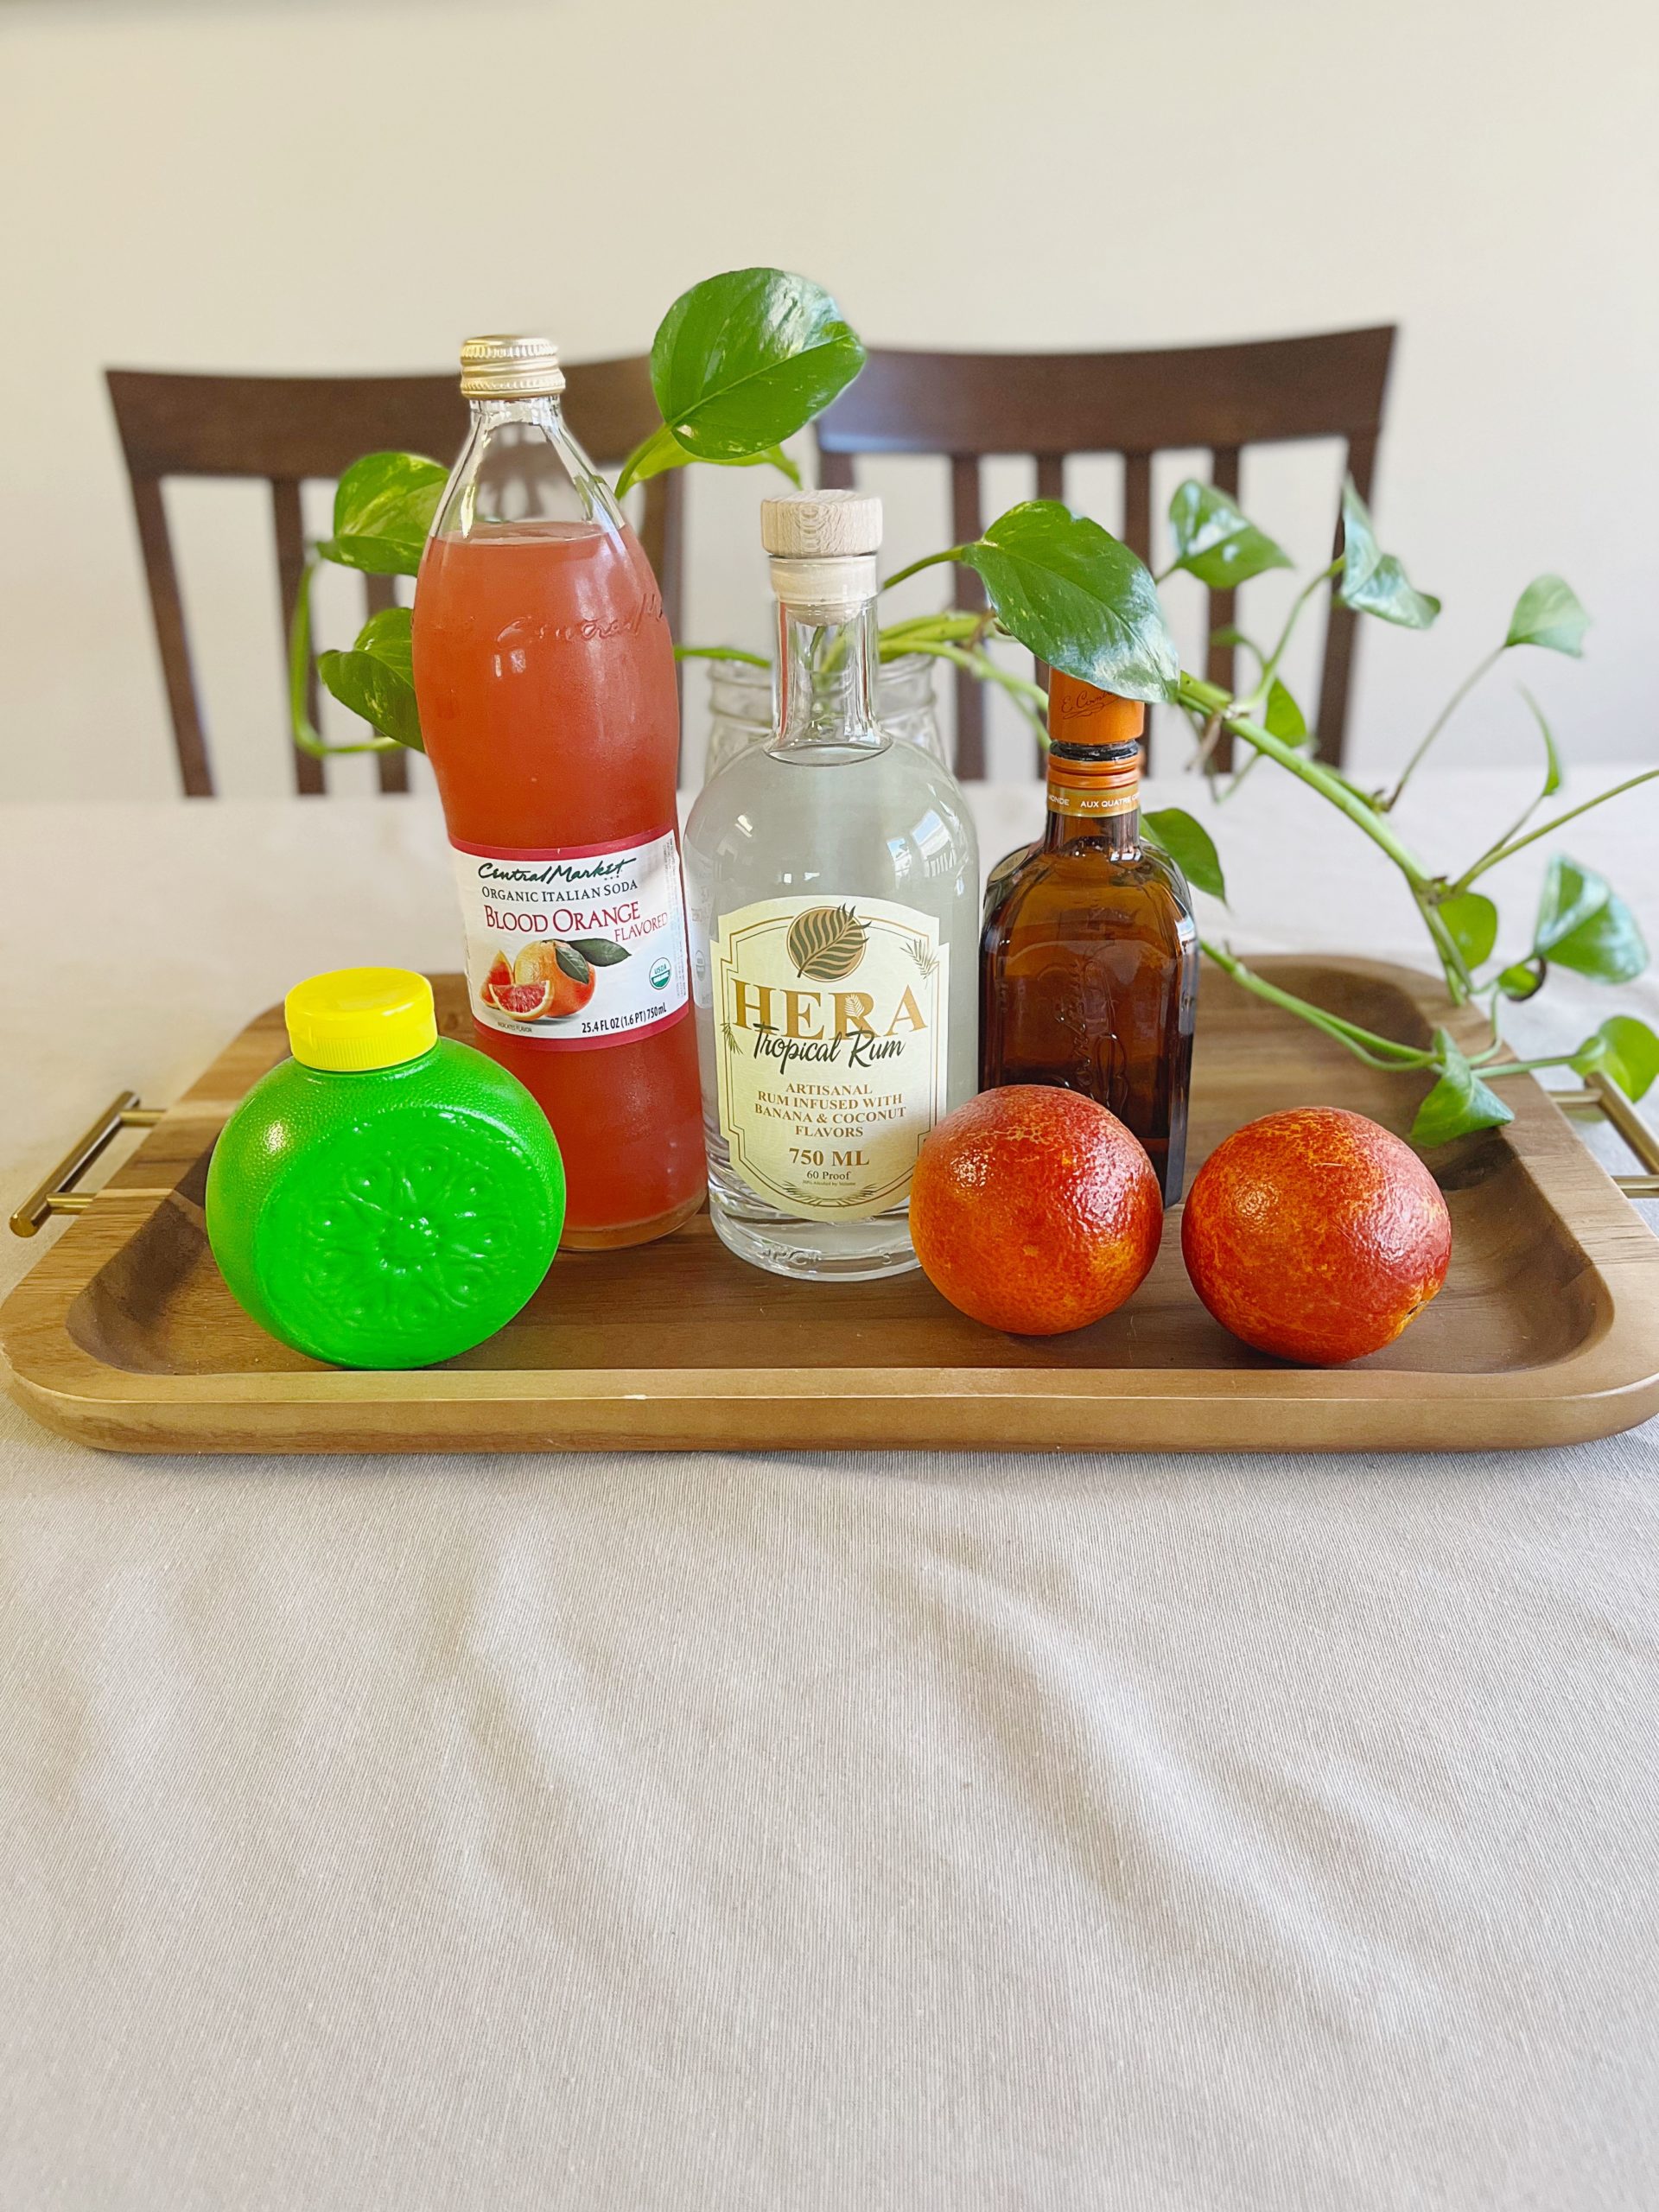
Rim Your Glass
Take a saucer (small plate), and pour about a quarter cup of sugar on it. You can use more or less, depending on how many drinks you’re making. Then, thinly slice an orange, and use one of the slices to wet the rim of the glass. I like to go down further where my mouth will be on the glass to give it a little razzle dazzle and to get some extra sweetness while I drink.
After wetting the rim, dip the rim of the glass in the sugar, applying to more areas as needed. If you wet the side of the glass, be sure to roll that section in the sugar as well. Now, let’s make this drink!
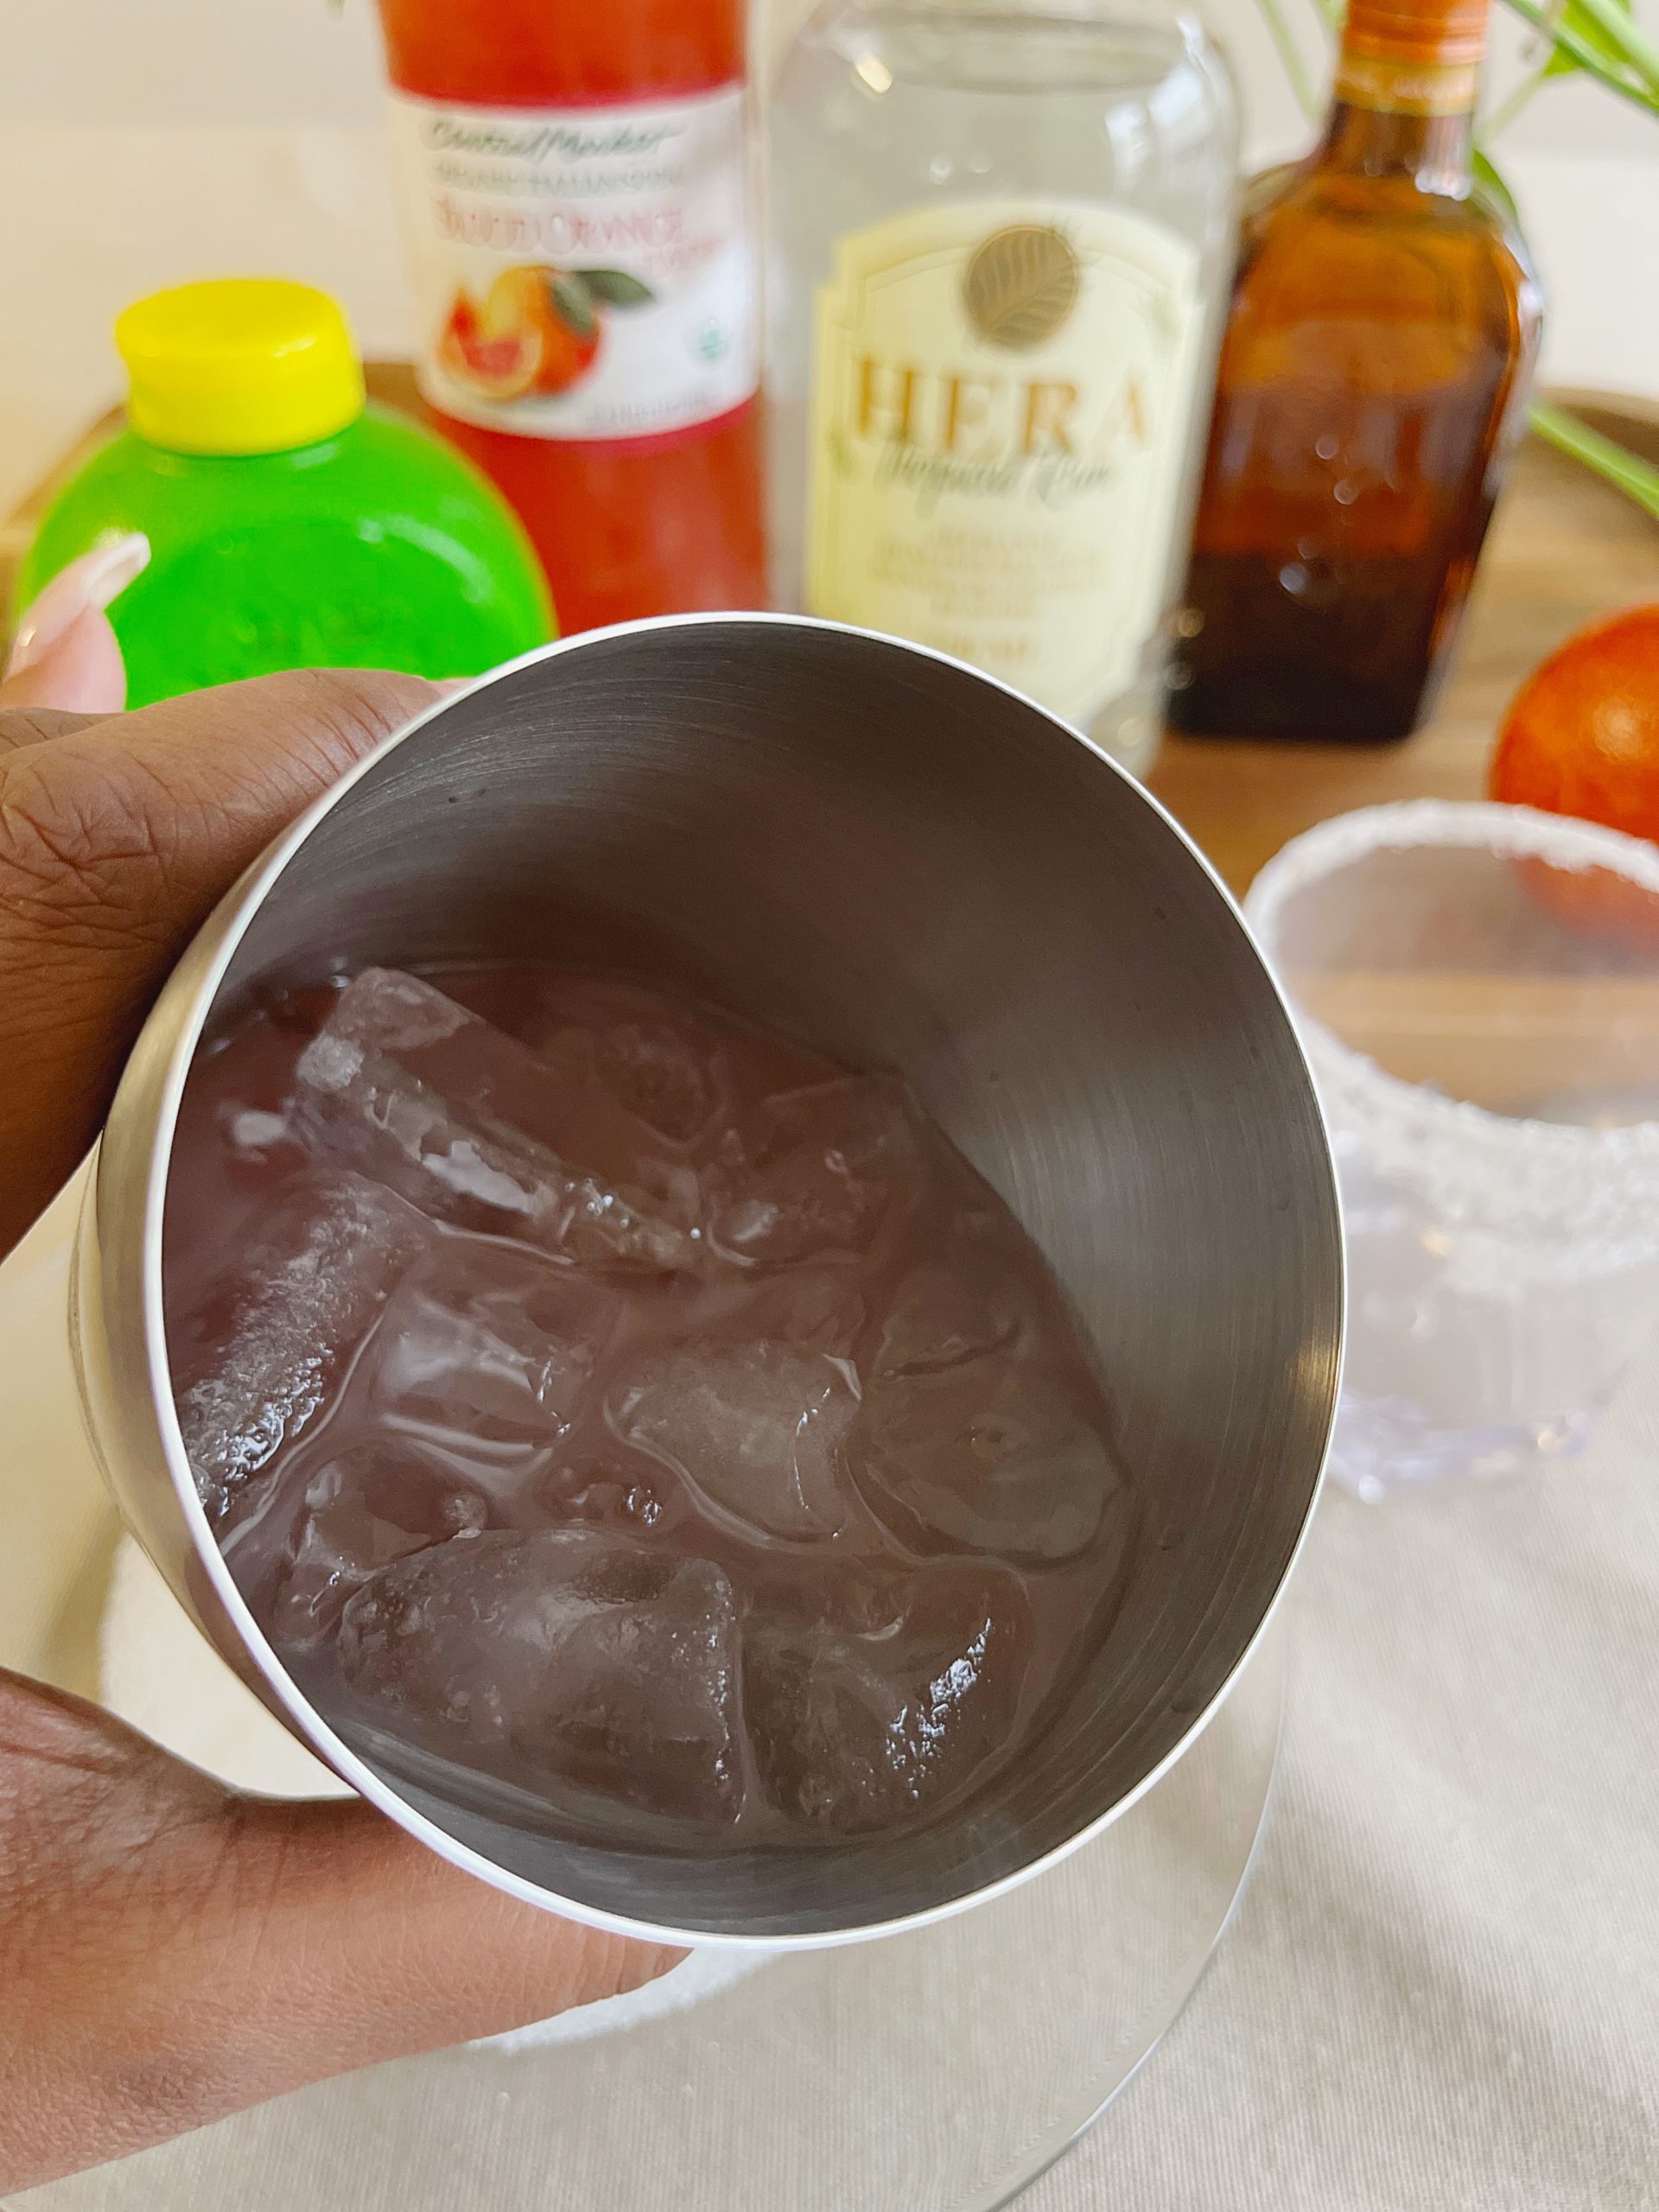
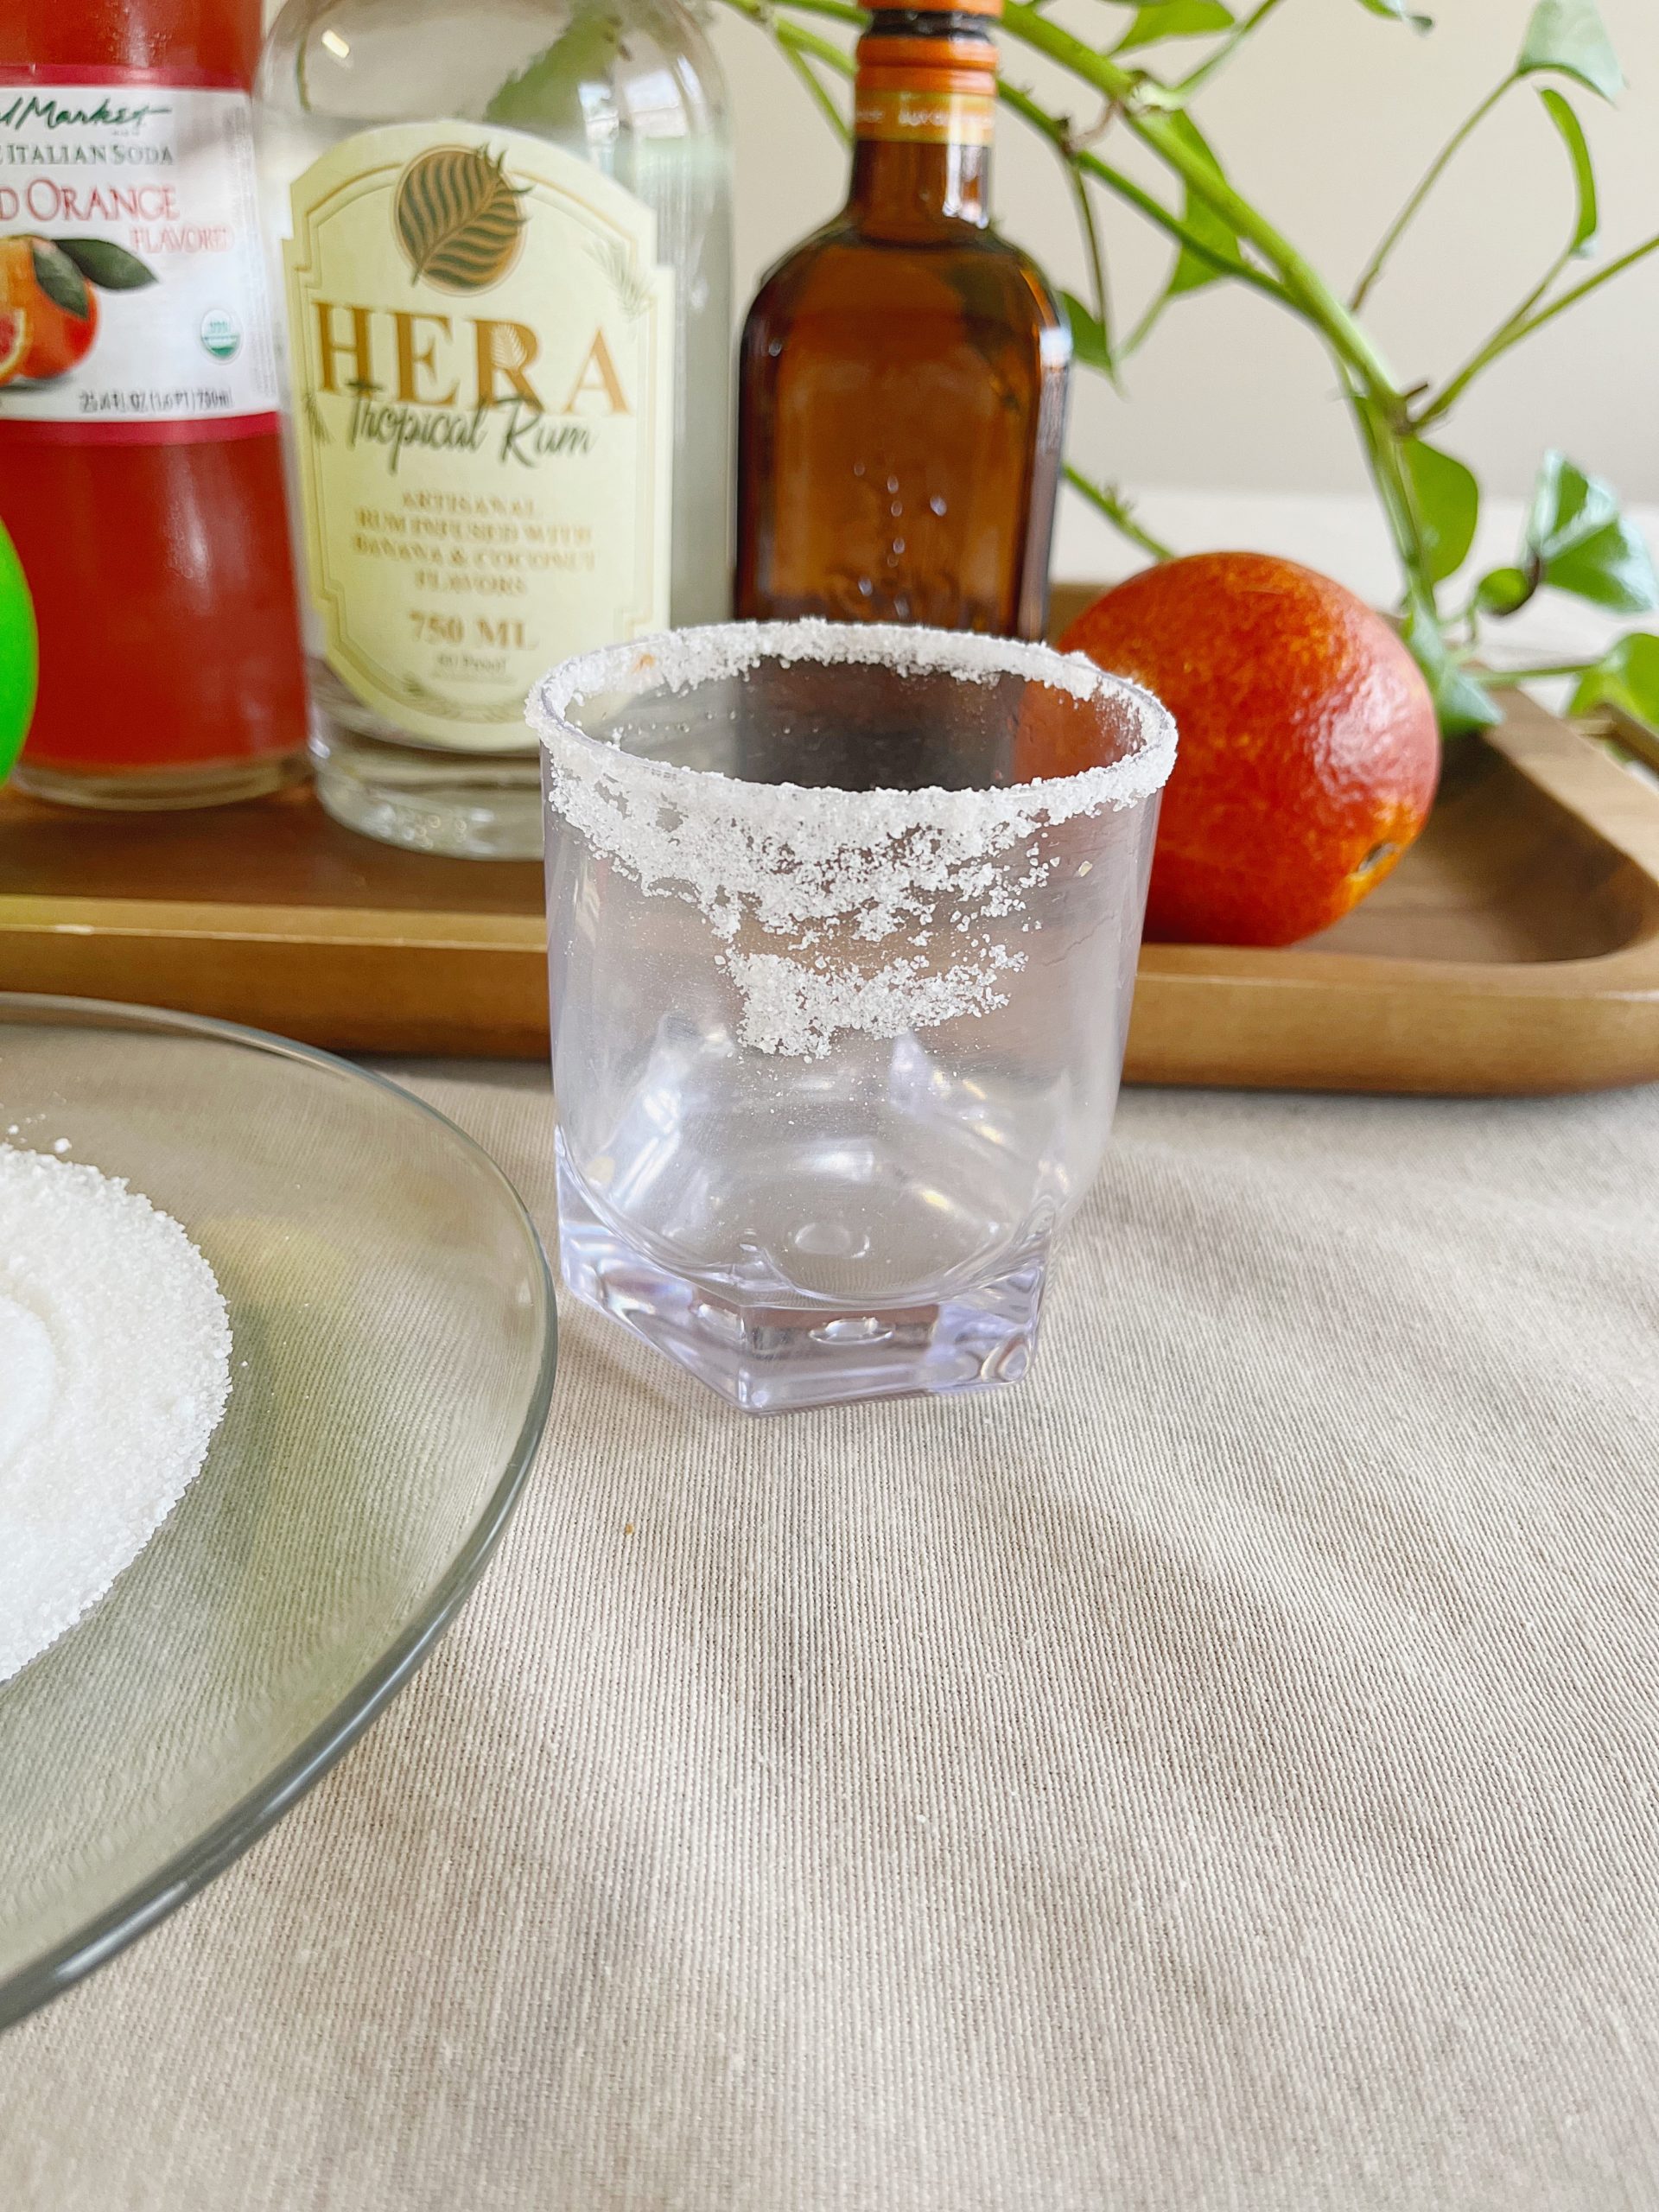
Combine the Liquids
Fill a shaker with ice. Then add the rum, liqueur, soda, and lime, in that order. Place the lid on the shaker, and shake it for about 30 seconds. You’ll know it’s ready when the frost appears on the shaker and your fingers start to freeze. lol
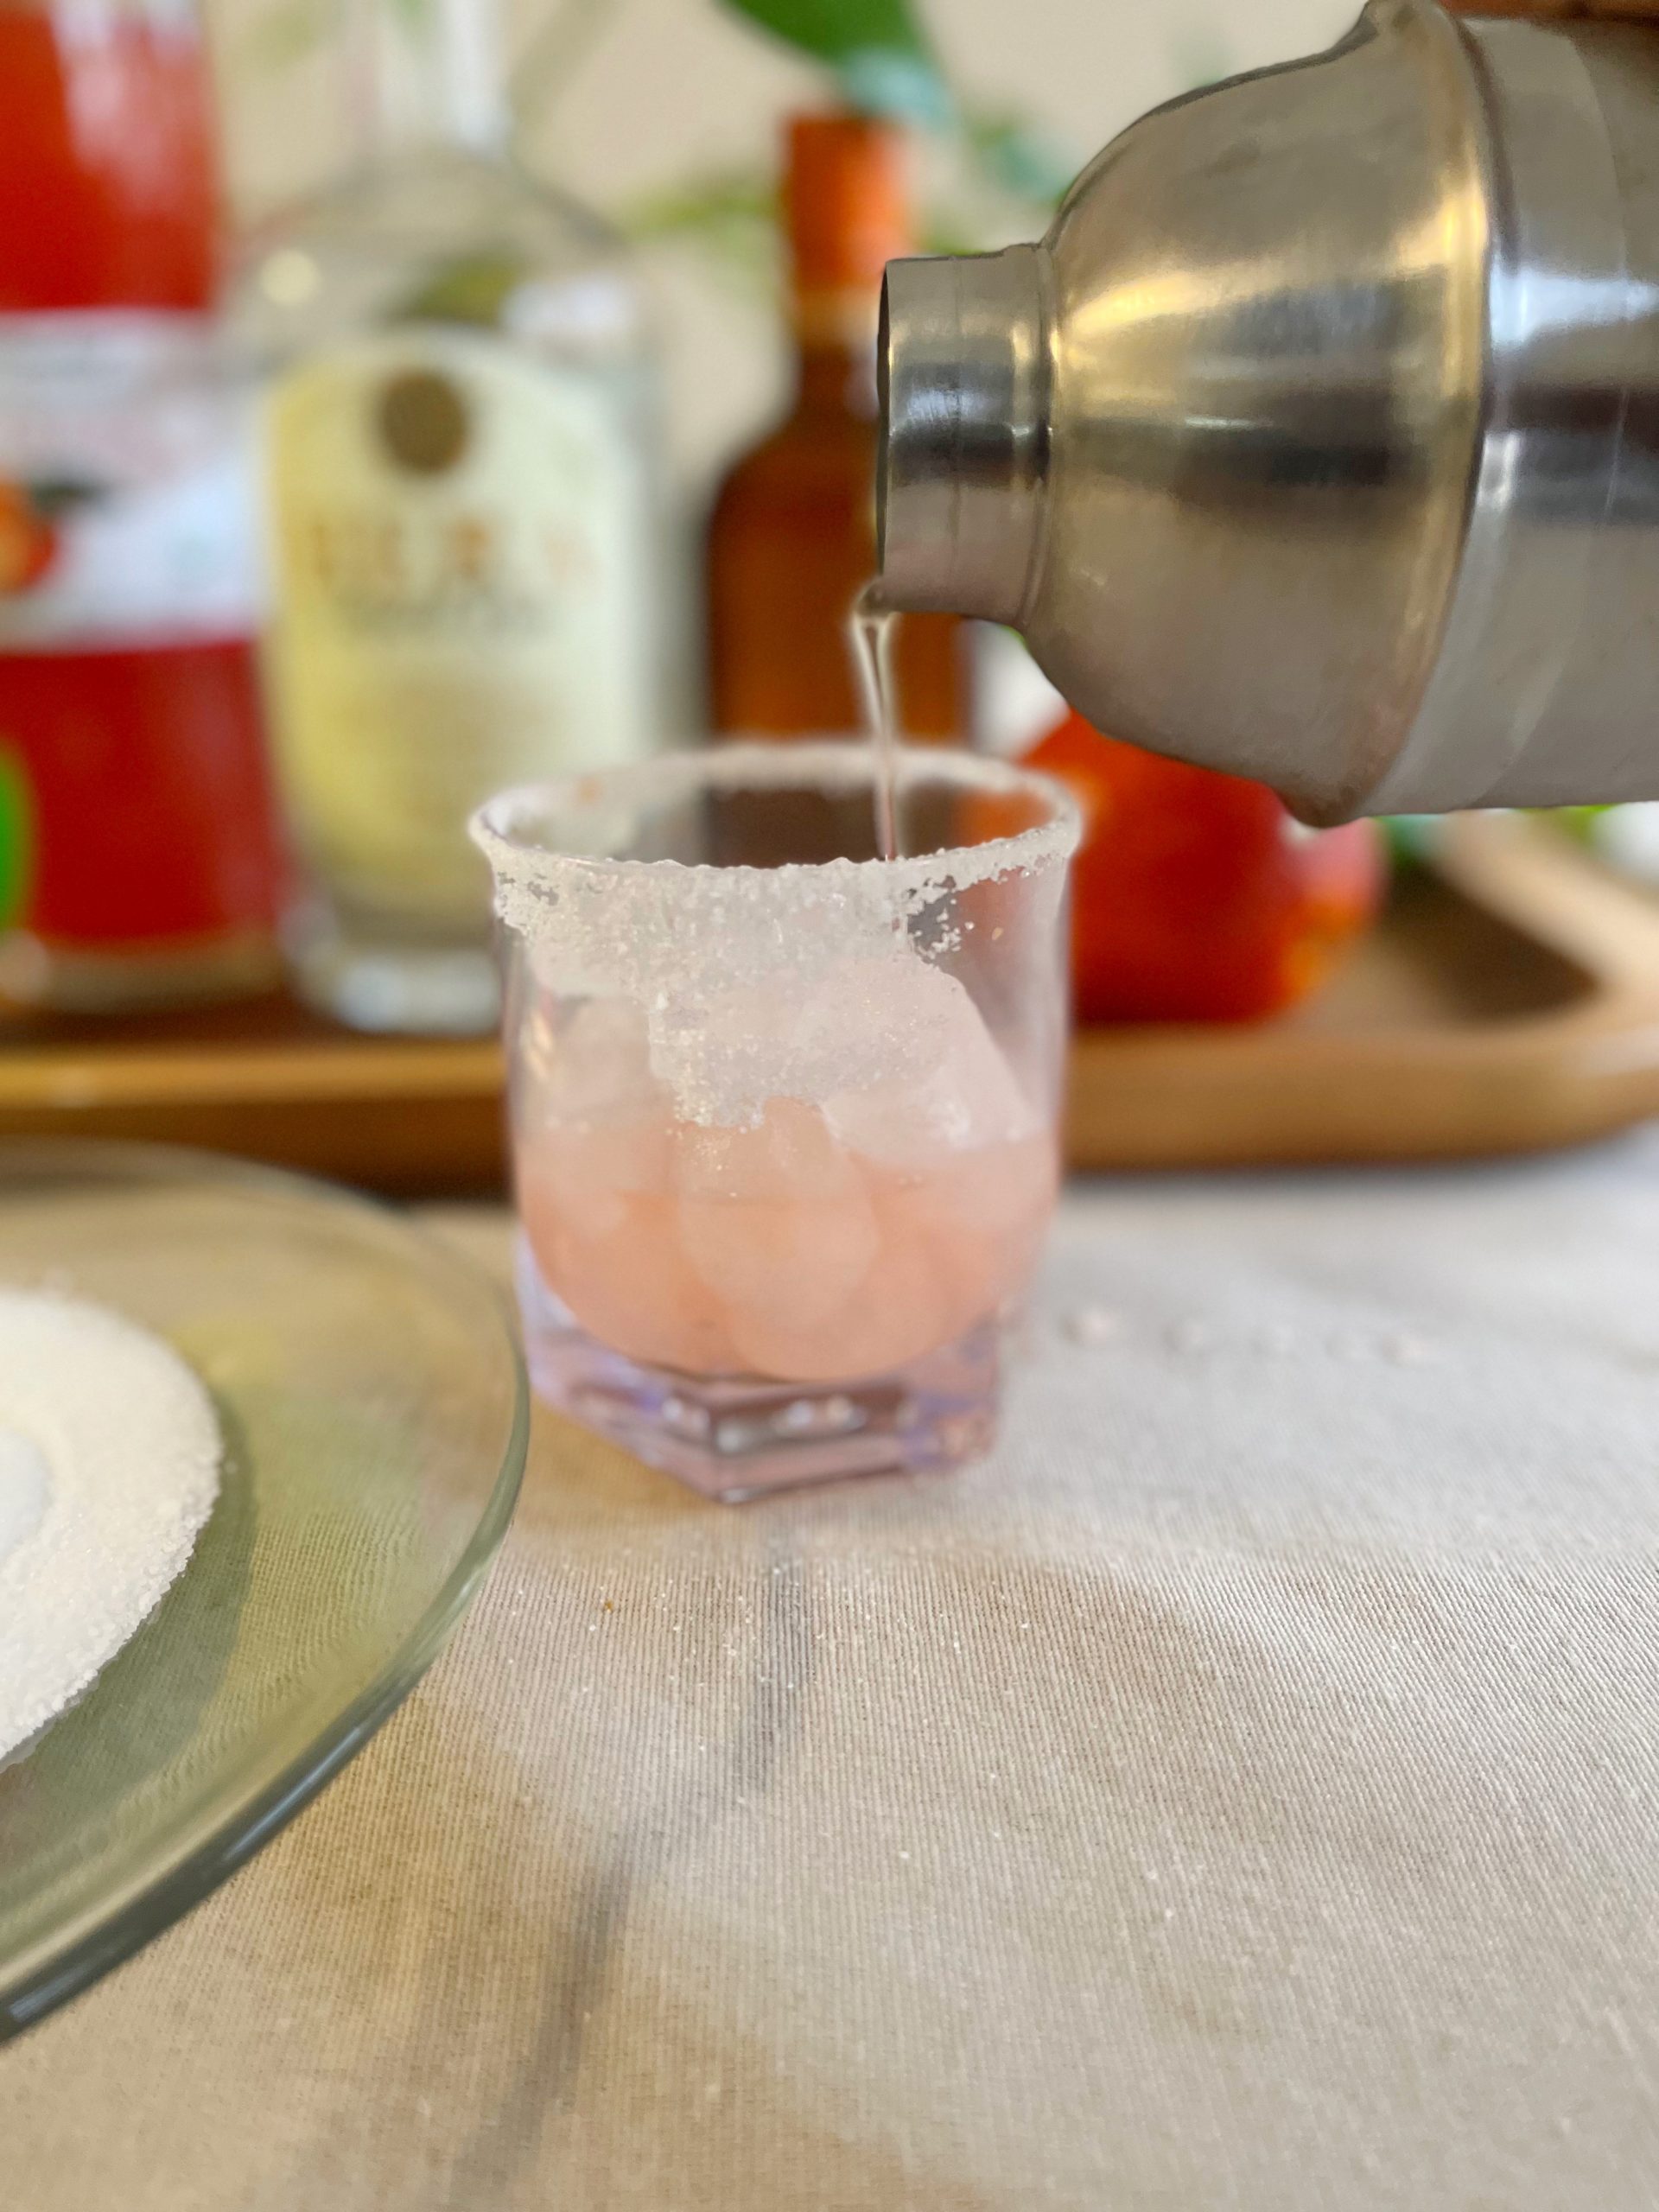
Pour Your Drink
We’re almost at the finish line! Take your sugar rimmed glass and fill it with fresh ice. Afterwards, remove the strainer cap from your shaker, and strain the drink into your glass. Depending on the type of glass you used, this will make one to two drinks. Lastly, just place the orange slice you used earlier on the rim of the glass, and enjoy!
After adding everything together and taking the first sip, I knew this would be a staple hosting cocktail in our home until further notice. The way the flavors mix and mingle, while still uniquely standing out from each other is true magic! hope you enjoy it as much as I did. If you try it, tell me what you think and if you’d change anything. Happy sipping!
Thank you for checking out my recipe! Let me know how it turns out for you and if you’d customize it at all. Find the rest of the Saturday Sip series here.