
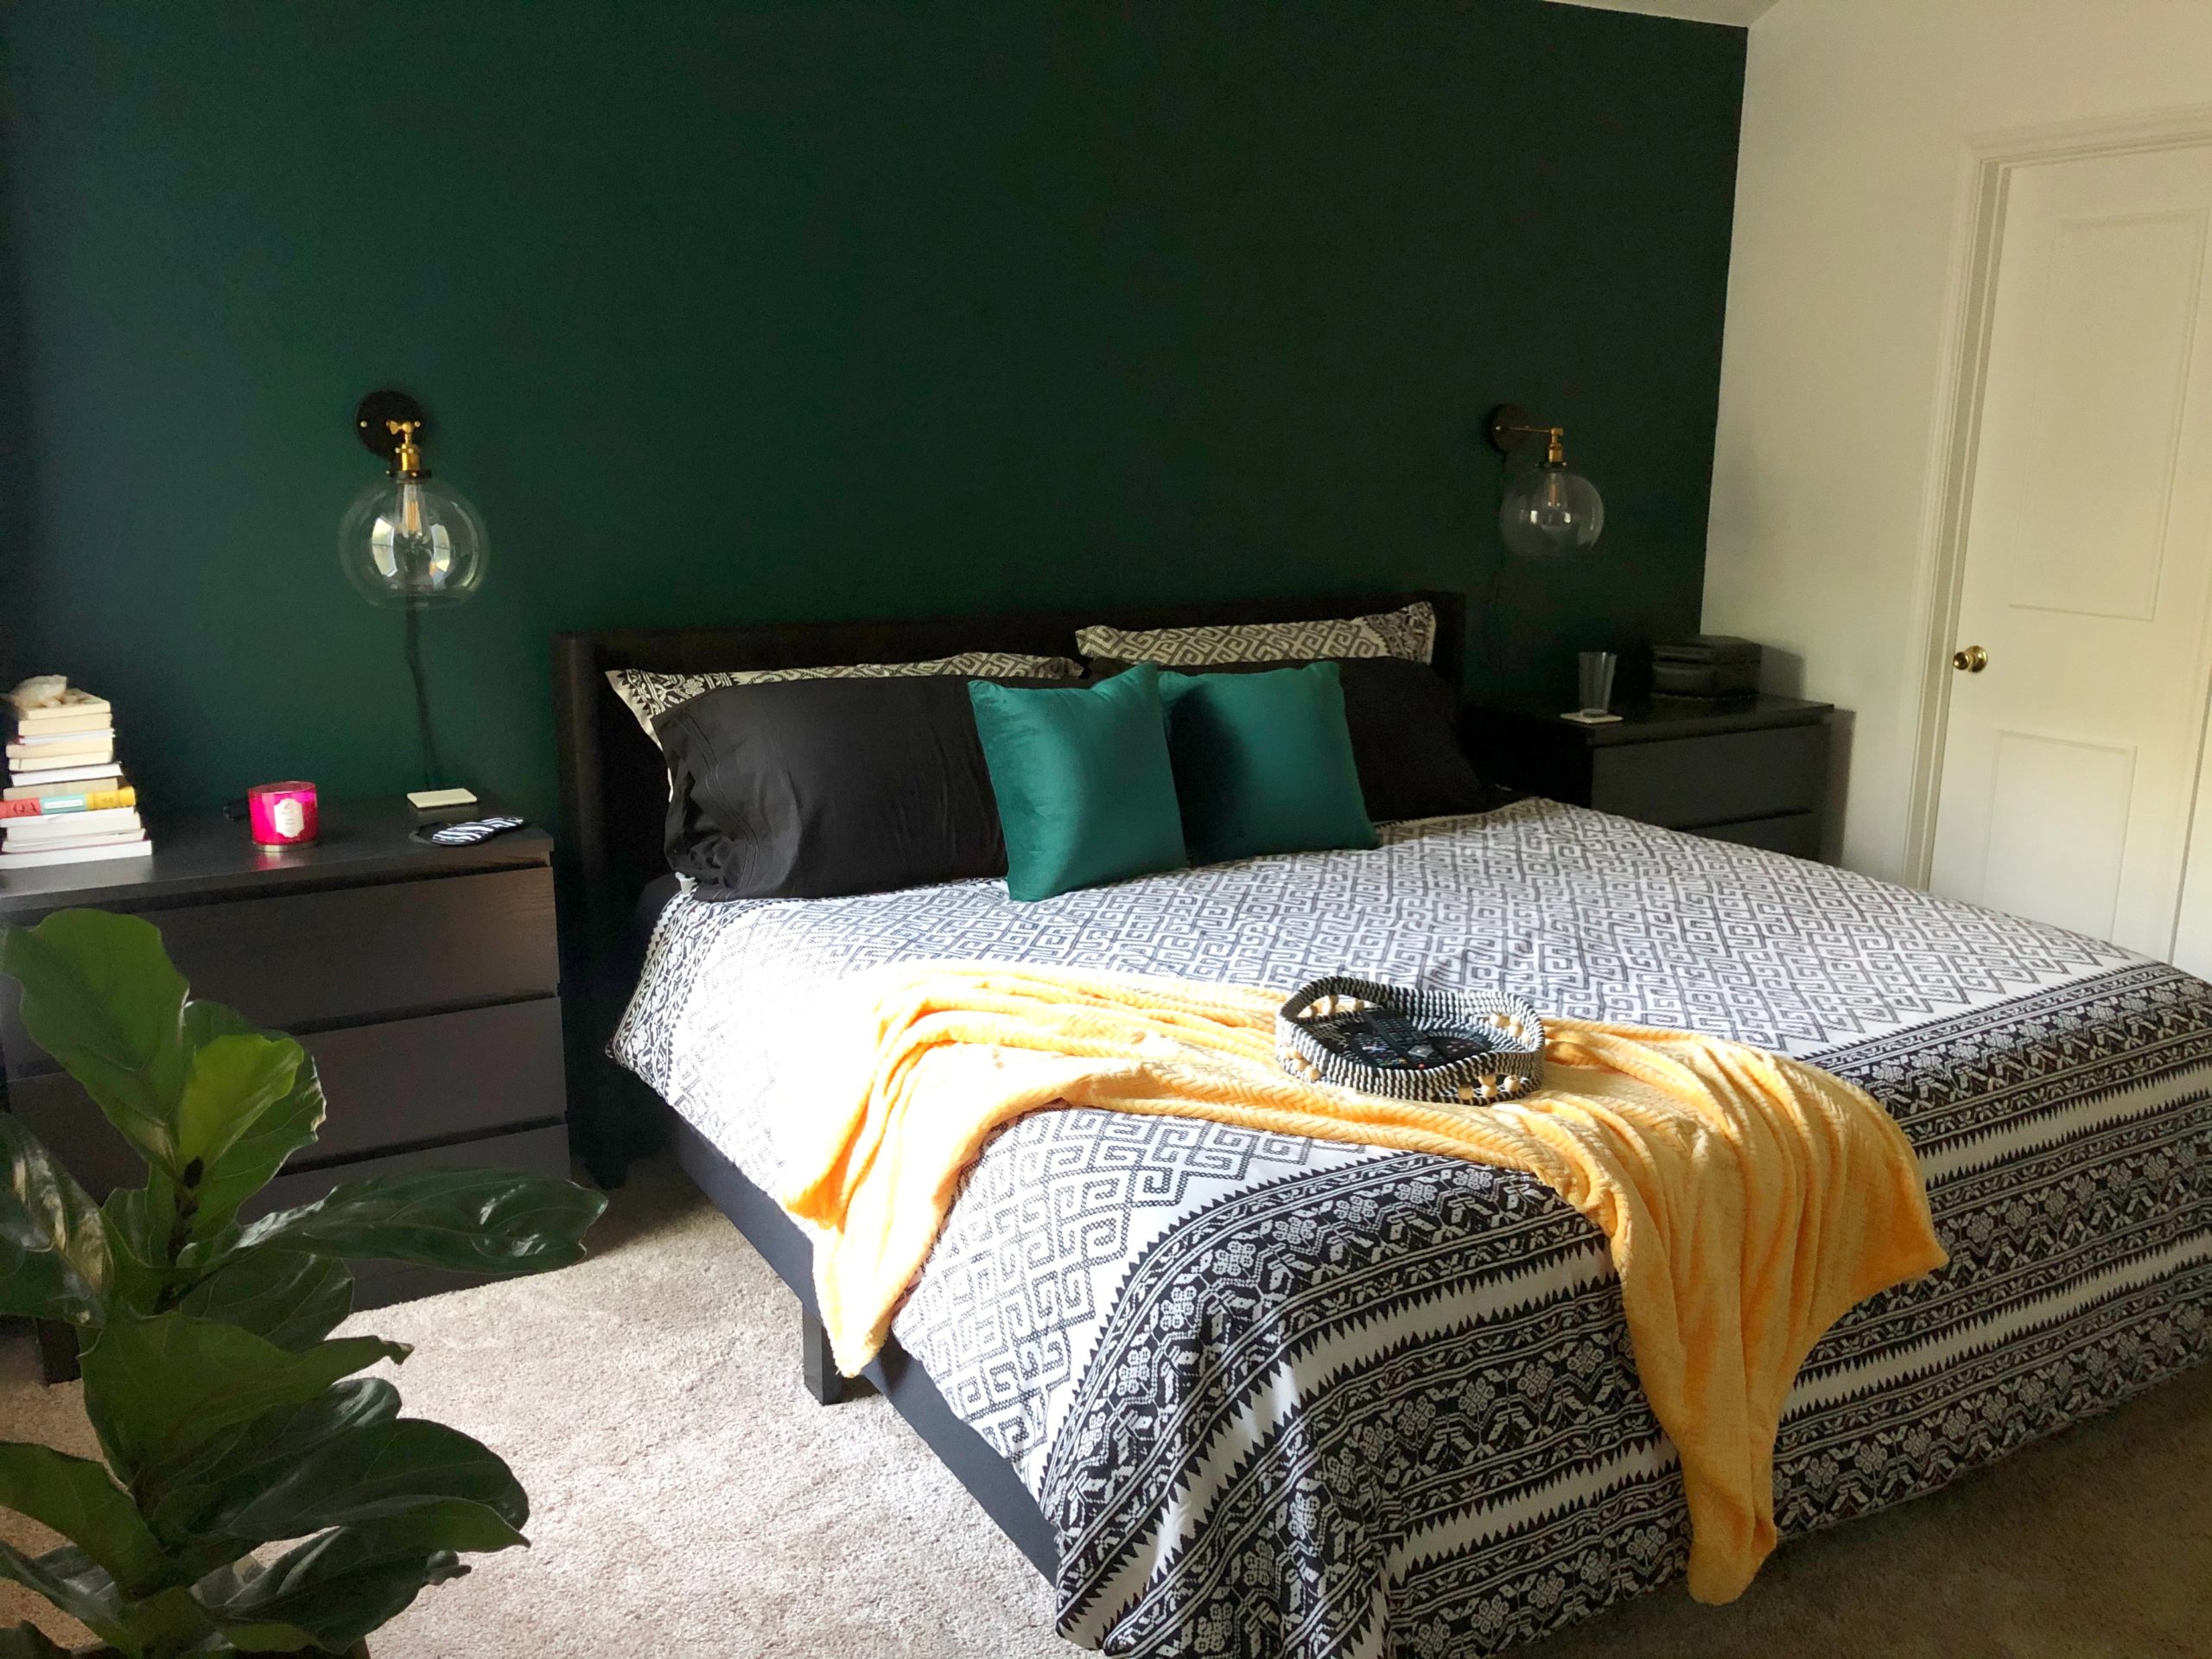
Our Master Bedroom Makeover
We participated in our first One Room Challenge this Spring when I did a full makeover of our master bedroom. We’ve lived here since 2017 but had never done anything to it.
For those unfamiliar, the One Room Challenge is a usually 6 week long project where you choose a room in your home or someone else’s home and give it a full makeover. How big or little the makeover is up to you. You share your progress once a week via your blog, social media, or both. Then everyone does their big reveal on the last week’s post date. For the Spring 2020 challenge, we were given 8 weeks to finish to help with shipping delays caused by COVID-19.
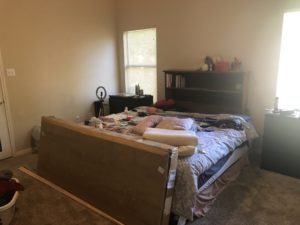
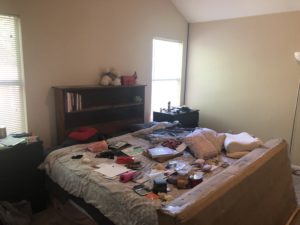
A little back story, we bought a king size mattress when we first moved in and still used our full/queen size headboard that was handmade by my late father-in-law. So we’re definitely holding onto that. Since the makeover, the headboard has been living in the front guest bedroom. Below are some before pictures. I put everything on the bed and was trying to do a purge/keep situation. It was not successful. lol
When I saw that registration was open for the One Room Challenge, I immediately signed up, not even knowing what we’d do. I’ve been watching participants for years and was tired of cheering from the sidelines. So, I bit the bullet and registered. Later that day, i was lying in our bed, doing nothing, and I started looking around. My brain was like OF COURSE THIS IS THE ROOM!
So I talked with William, my husband, and we agreed to redo the bedroom. Then to make it a bit spicier, I decided to do the whole thing myself and surprise William with the reveal. As a compromise, he has full control over curating the wall art. It’s currently still in progress. The pieces are all created. They just need to be framed.
I came up with this mood board after finding the paint color Night Watch by PPG. It inspired the entire design. I wanted to paint the entire room this color, but I was vetoed by William. So, accent wall it was!

The first step was to paint. All of our interior walls, except our master bathroom and laundry room, were painted a terra cotta color before we moved in. So, I chose to paint the remaining walls outside of the accent wall white, specifically Pure White also by PPG. It took 2.5 weeks for me to finish painting. So I did other projects in between, like assembling the bed and building a desk. Click here to see the whole process in my Instagram highlights.
The bed was a mostly easy assembly. Fun fact: I really like putting furniture together, especially Ikea furniture! Our bed, however, was from Wayfair. For the desk, I bought two 1x12x6 common board planks, some hair pin legs, and a few 12″ braces from Home Depot. It all came out to around $80, with the pin legs being the most expensive at $45. I used the braces to connect the two boards. Then, I attached the legs about an inch from each corner’s edge. After that, I stained the wood with some walnut stain we already had and topped it with one thin coat of epoxy. Once that dried, I was done!
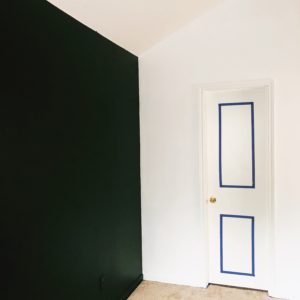
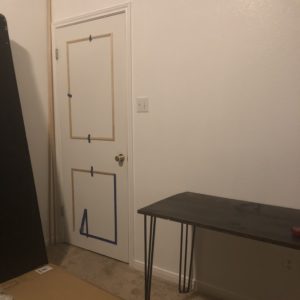
After finishing the desk, I had to do the last design step that I’d been avoiding since week 2 or 3, and that was cutting the trim for the door moulding. To start this project, I taped off what I wanted the moulding to look like. I then measured that several times and bought the trim from, you guessed it, Home Depot. We only had a jigsaw at the time, and I was scared to use it. So I taped off what I eyeballed to be 45 degree angles at the needed lengths and asked William to cut the first piece. He uses the jigsaw all the time. So it wasn’t a problem for him.
I watched him cut one piece. Then. I built up the courage to try with him supervising me. I did great on the first cut and became overconfident. That’s when the problems started. I cut the rest by myself, and it wasn’t pretty. The angles were off. Chunks of wood would break off the tips when I cut through, and it was just all around ugly. So I stopped cutting after what you see in the second picture above and rented a miter saw. That was one of the best decisions I made during this project! It was so easy to use, and the cuts were perfect and beautiful. So now, a miter saw is on my wish list.
The actual final step before decorating was putting up the tv. I envisioned mounting it and making a wooden frame/art piece to cover it. That didn’t happen for multiple reasons, the main reason being I had NO IDEA how to do that lol. So, I just had the tv mounted by Five Star Installations , a local company I found on Facebook. While Rashon, the owner, was putting up the tv, I finished the doors. These were the final steps before I could start making the room pretty, and I was so excited to almost be done and show William what I had been up to for the last 8 weeks!
Well, that’s all for today, but check back soon for the reveal of our master bedroom makeover, where I’ll go into full detail on sourcing the items and my thought process.